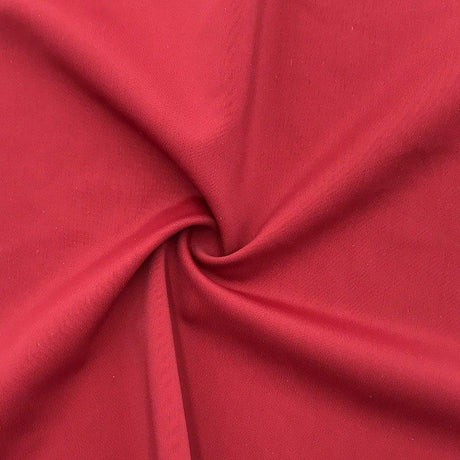
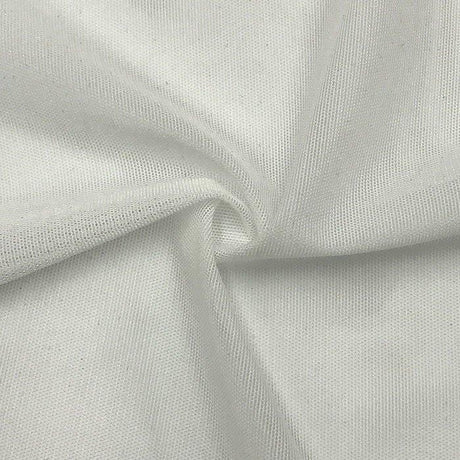
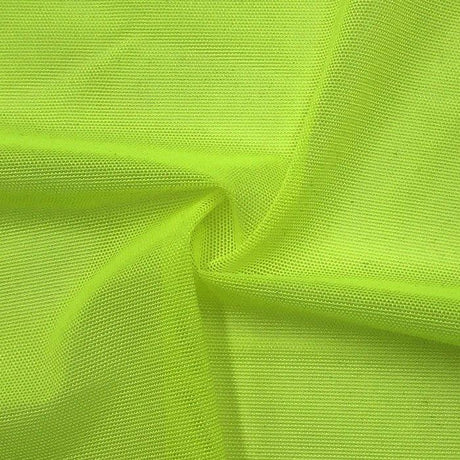
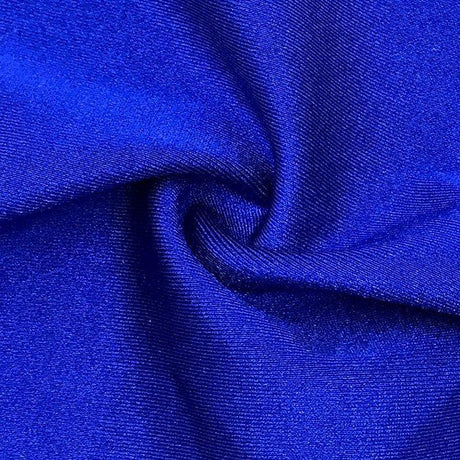
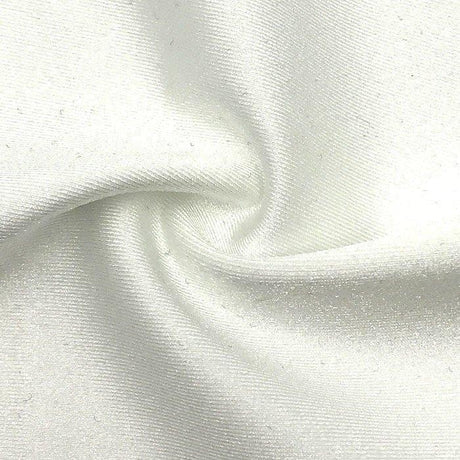
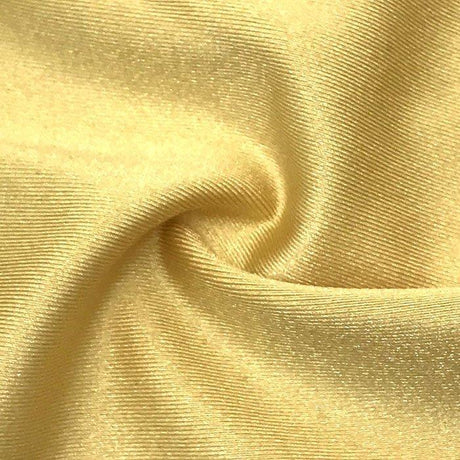
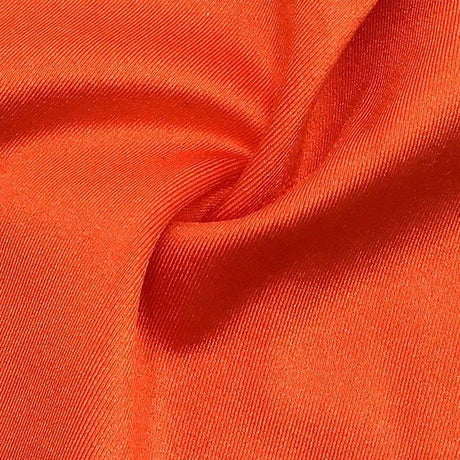
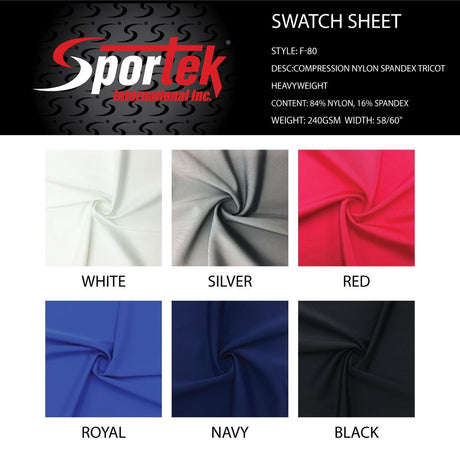
Sewing spandex (also known as Lycra or elastane) can be intimidating, even for experienced sewists. Spandex is a synthetic fabric famous for its exceptional elasticity – in fact, it can stretch 5–8 times its normal length. This amazing stretch makes spandex ideal for dancewear, activewear, and costumes, but it also makes the fabric tricky to sew. For a broader foundation on spandex fiber properties and blend types before diving in, explore our stretch fabric types page or browse our full fabric guides hub.
Fortunately, with the right tools and techniques, sewing spandex successfully is absolutely possible. This comprehensive guide will help beginners and advanced sewists alike master spandex fabric. We'll cover everything from the properties that make spandex challenging, to the best needles and threads, optimal machine settings, cutting and pinning tips, and solutions to common problems.
Why Spandex Fabric Is Challenging to Sew
Spandex's very strengths are what make it a challenge at the sewing machine. Understanding these properties will help you counteract them:
Extreme Stretch: As you sew, it's easy to accidentally stretch the fabric, resulting in wavy, "lettuce-edged" seams or distorted, larger-than-intended garments. The fabric can also be slippery and prone to shifting under your presser foot.
Seam "Popping": A standard straight stitch has no give – when a seam in spandex is stretched, the tight thread simply snaps. Using the wrong stitch on a highly stretchy fabric is a recipe for seams that pop apart under stress.
Skipped Stitches: Using a regular needle on spandex often leads to skipped stitches or even thread breakage. A traditional sharp needle can't glide through the elastic fibers properly and may damage them.
Puckering and Bunching: Spandex is sensitive to thread tension and presser foot pressure. If tension is too high or the presser foot is pressing down too hard, the seam can gather and pucker.
Understanding these challenges is the first step. Our spandex care guide covers the polymer structure that makes spandex so elastic – useful context for understanding why these construction challenges exist.
Needles: Choose the Right Needle for Spandex
One of the most important tips for sewing spandex is to use the correct needle. Here's what you need to know:
Ballpoint (Jersey) Needles: These have a rounded tip that pushes knit fibers aside instead of piercing them. A ballpoint needle prevents runs or damage in knit spandex and reduces skipped stitches.
Stretch Needles: Even better for spandex are stretch needles, specifically designed for highly elastic fabrics. A stretch needle has an extra-rounded point and a special scarf and eye that allow for a larger thread loop, helping to prevent skipped stitches on ultra-stretchy Lycra. If you're sewing spandex or Lycra with lots of elasticity, reach for a stretch needle first.
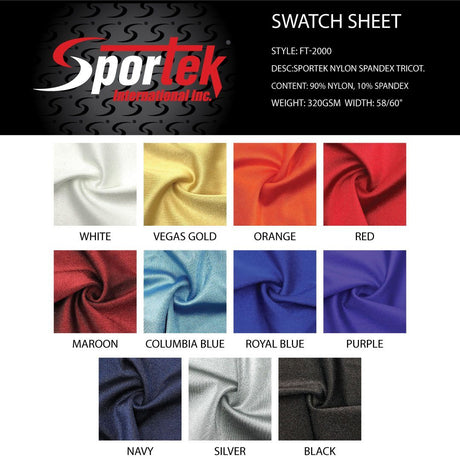
Needle Size: Use an appropriate size based on your fabric weight. Try a size 75/11 for lighter spandex or 90/14 for heavier spandex. Finer needles (70/10) may be needed for very thin swimwear fabric. Our fabric weight guide covers GSM ranges across all common spandex-blend constructions, which is directly useful for selecting the right needle size for your specific fabric weight.
Always use a new, sharp needle when starting a spandex project. If you experience skipping, sometimes simply changing to a fresh stretch needle solves the problem.
Thread: Select a Strong, Flexible Thread
Polyester Thread: Polyester all-purpose thread is the top choice for spandex fabrics. Polyester is a synthetic fiber that has a bit of inherent give, so it can stretch slightly with the fabric. It's also strong and durable. Avoid cheap or old thread which can be weak or brittle.
Nylon Thread: Nylon thread is also very strong and somewhat stretchy, making it a viable choice for spandex. Serger "woolly nylon" thread is commonly used in swimwear and activewear – it's a fluffy, textured nylon thread that creates soft, highly stretchable seams in sergers. Our swimwear fabric guide covers thread and construction requirements specific to swimwear applications.
Avoid Cotton Thread: Never use 100% cotton thread on spandex. Cotton thread has no stretch at all and will snap under the slightest strain.
Tip: Test your thread and needle on a scrap first. Make sure the thread doesn't break when the scrap is stretched. With a quality polyester thread and the right needle, your spandex seams will be strong and flexible.
Machine Settings: Stretch Stitches, Length & Tension
When sewing spandex on a home sewing machine, do not use a standard straight stitch for your main seams – it will almost certainly break as soon as the fabric stretches. Here are the best stitch options and settings:
Narrow Zigzag Stitch: Set your machine to a medium width (about 1.5–2.5) and a moderate stitch length (~2.0 mm) as a starting point. The zigzag's zig and zag allow the seam to stretch without breaking. This is ideal for most spandex seams.
Lightning Bolt (Stretch) Stitch: Many machines have a special stretch straight stitch that looks like a lightning bolt line. This stitch is designed to stretch and recover along with knit fabrics and can be great for spandex seams that need to lie flat but still stretch.
Triple Straight Stitch: This stitch goes forward-back-forward, forming each stitch three times. The triple stretch stitch can be useful for areas that experience a lot of strain and need strength (like crotch seams) but don't require extreme stretch.
Use a Serger if Possible: If you have access to a serger (overlocker), it's the ultimate solution for sewing spandex. A 3- or 4-thread serged seam is highly durable and will never pop under tension. You can absolutely sew spandex on a regular sewing machine too, so don't worry if you don't have a serger.
Tension: If your stitches are puckering or gathering the fabric, the thread tension may be too high. Try loosening (reducing) the upper thread tension slightly and test on a scrap until the seam lays flat.
Presser Foot Pressure: Many machines allow you to adjust the presser foot pressure. Heavy presser foot pressure can stretch and distort spandex as you sew. Lighten the presser foot pressure for spandex so the fabric feeds through without getting pulled too taut.
Always test your stitch settings on a scrap of spandex before sewing your actual garment. Stretch the scrap seam to make sure it doesn't break and stretches as needed.
Cutting and Preparing Spandex Fabric
Pre-Wash the Fabric: Pre-wash your spandex in cold water and air dry it before cutting. This removes any factory finish and accounts for minor shrinkage. Do not use high heat on spandex. Our spandex care guide covers exactly why heat is so damaging to elastane fibers and what temperature thresholds to avoid.
Test the Stretch & Recovery: Take a moment to test the stretch percentage of your fabric. Pull a swatch and see how far it stretches and, importantly, how well it recovers (returns to original length). Our stretch fabric types page covers the step-by-step stretch and recovery testing methodology in detail, including how to calculate stretch percentage from a home test.
Use a Rotary Cutter and Mat: A rotary cutter with a cutting mat is a game-changer for spandex. The rotary blade cuts smoothly through the fabric while it lies flat, so you get clean, precise edges without lifting the fabric.
Keep the Fabric Flat (No Hanging Off Edges): Always lay the fabric completely flat on your cutting table – do not let it drape over the edge. Spandex is so stretchy that even its own weight can stretch it out of shape.
Use Weights Instead of Pins for Patterns: Pins can snag the fabric or cause it to shift. Instead, use pattern weights to hold your pattern down. If you must pin, do so within seam allowances and use fine ballpoint pins, but weights are preferable.
Marking and Cutting: Use chalk or a washable marker to trace your pattern. Cut with smooth, even pressure. If the curl is troublesome, sandwich the fabric between tissue paper for cutting.
Pinning and Stabilizing Stretch Fabric
Use Clips Instead of Pins: Traditional pins can be problematic on spandex – they can leave permanent holes or laddering in some stretch fabrics. Use Wonder Clips or similar sewing clips to hold your layers together. Clips securely hold the fabric without piercing it.
Stabilize Key Seams: Some areas of a spandex garment benefit from a little extra support to prevent them from stretching out over time – shoulder seams, waistbands, necklines, and any seam that will carry weight. To stabilize without losing stretch, sew a thin strip of clear elastic into the seam. Another option is a lightweight fusible knit interfacing (the stretchy kind) cut into a narrow strip. Clear elastic is often used in swimwear and activewear seams to keep them snug and un-warped. Our swimwear fabric guide covers elastic seam stabilization techniques commonly used in swimwear construction that apply equally to activewear and dancewear.
Manage Curling or Slippery Spots: If your spandex edges are rolling up or two layers are sliding against each other, try using a washable glue stick or basting tape to gently stick layers together for sewing. Another trick: use tissue paper under and/or over the fabric when starting a seam – this gives the machine something to bite into and prevents the fabric from getting sucked into the needle plate.
Sewing Spandex on a Home Sewing Machine
Follow the "No-Pull" Rule: This is the golden rule of sewing stretch fabrics: do NOT pull or stretch the fabric as you sew. The feed dogs will move the fabric for you. If you pull, you'll stretch the fabric and then when it relaxes you get wavy, fluted seams. Instead, guide the fabric gently, keeping it level in front and back of the needle.
Starting Seams Without Jams: Use the "fabric sandwich" trick. Take a small scrap of fabric and start sewing on the scrap first, then feed your spandex piece immediately after it. This way, the needle is already moving through fabric and won't push the spandex down into the plate. Many experts avoid backstitching on spandex and instead leave long thread tails and hand-tie them at the seam's end.
Sewing Curves & Difficult Areas: Go slowly and pause as needed on curved seams like necklines or armholes. Do not stretch the fabric around the curve. Stop with needle down periodically, lift the presser foot, and pivot slightly to realign.
Hemming Spandex: One of the best ways to hem spandex (for leg openings, sleeves, or the bottom of a shirt) is to use a twin needle on your sewing machine. A twin needle creates two parallel lines of straight stitching on the top and a zigzag on the bottom, which results in a professional-looking hem that stretches. Remember to slightly lengthen your stitch for hems and test on a scrap. Also, don't pull when hemming – use the same no-pull rule to avoid rippled hem edges. Our dancewear fabric guide and activewear fabric guide cover hem finishing techniques specific to dancewear and activewear applications.
Using a Serger (Overlocker) for Spandex
If you own a serger (overlock machine), consider it your best friend for sewing spandex.
Benefits of Serging Spandex: A serger will stitch, trim, and finish the seam all at once. The overlock stitch has built-in stretch (thanks to the looper threads). A 3-thread stitch can stretch a lot, and a 4-thread stitch adds an extra line of reinforcement while still stretching. The resulting seam is highly durable and won't pop even if you pull the fabric aggressively.
Use the Right Settings: Use a medium stitch length (around 2.5 to 3) and standard width. Check your differential feed setting – for most spandex, you may need to increase the differential feed slightly above the neutral 1.0. Test on a scrap: if the seam comes out wavy or "fluted," bump up the differential a notch.
Needles and Threads for Sergers: Ensure you have ballpoint or stretch needles in your serger too. For thread, polyester cone thread in all loopers and needles works well. For extra elasticity (like in swimwear), use woolly nylon in the loopers.
Technique – Same "No Pull" Applies: Just because the serger feeds fabric quickly, don't be tempted to pull the fabric. Let the serger feed the spandex.
Securing Ends: A serger leaves a chain of thread at the end of a seam. Secure your serger thread chain at seam ends by tying the chain and using a needle to weave it back into the seam.
Hems and Finishing: A coverstitch machine is fantastic for hems – it creates that double-row hem seen on store-bought activewear. If you don't have a coverstitch, you can serge the raw edge of a hem, then fold and topstitch with a twin needle on your regular machine.
Troubleshooting Common Spandex Sewing Problems
Skipped Stitches: Switch to a fresh stretch or ballpoint needle appropriate for the fabric's weight. This usually solves skipped stitches immediately. Also double-check your threading and tension.
Seam Puckering: Loosen the top thread tension a bit and, if your machine allows, reduce the presser foot pressure. Also ensure you're using a stretch needle.
Seams Popping or Breaking: Always use a zigzag, stretch stitch, or serger for construction. If you did use a zigzag but it still broke, use a slightly wider zigzag or a longer lightning stitch. In high-stress areas, consider reinforcing with a second line of stitching or using a serger for a stronger multi-thread seam.
Wavy or Stretched-Out Seams: Ensure you are not pulling or pushing the fabric as you sew. Check presser foot pressure and differential feed on a serger. If a seam comes out wavy, try gently steaming it with an iron using a pressing cloth and low heat.
Fabric Getting "Eaten" by the Machine: Use the scrap "fabric sandwich" technique, or start a little in from the edge. Using tissue paper under the fabric at the start can provide extra support which you tear away later.
Final Tips for Sewing Spandex Successfully
Practice and Patience: Don't be discouraged by early mistakes. Even seasoned sewists needed practice to master spandex. Use scraps to practice stitches and settings.
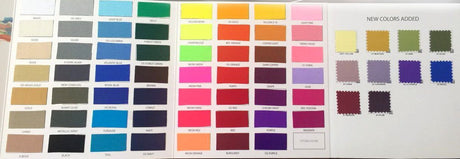
Quality Materials Help: Working with high-quality fabric and notions will make a difference. Reputable suppliers offer a wide range of spandex types, so you can get the right tool for the job. Our nylon-spandex fabric guide, cotton-spandex fabric guide, and activewear fabric guide will help you identify the right fabric for your specific project before you start cutting and sewing.
Use the Right Tools: Always use a stretch/ballpoint needle and polyester thread. Adjust your machine for stretch stitches and proper tension. Specialized tools like a serger, coverstitch machine, walking foot, or Wonder Clips make the process smoother.
Enjoy the Process: Spandex doesn't fray, which means you don't have to finish every raw edge if you don't want to. Focus on fit and functionality – the stretch will forgive small imperfections in stitching.
With these needle, thread, and machine tips, you're well equipped to conquer sewing spandex. Take it one step at a time: prepare your fabric, set up your machine, and sew slowly. Soon, you'll be creating anything from athletic leggings to elaborate cosplay costumes with confidence.
Ready to find quality spandex fabric for your next project? Use our stretch fabric types page and fabric weight guide to evaluate your options, our how to choose fabric guide for a systematic evaluation framework, and our activewear fabric guide, swimwear fabric guide, or dancewear fabric guide for end-use specific recommendations. Our spandex care guide and fabric care guide will keep every finished garment performing at its best. Have questions? Our expert help and advice page and FAQ are always available. Sign up for SpandexByYard Rewards to earn points on every purchase – happy sewing and stretch on!