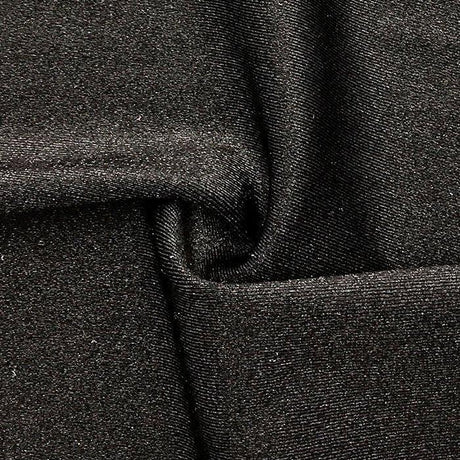
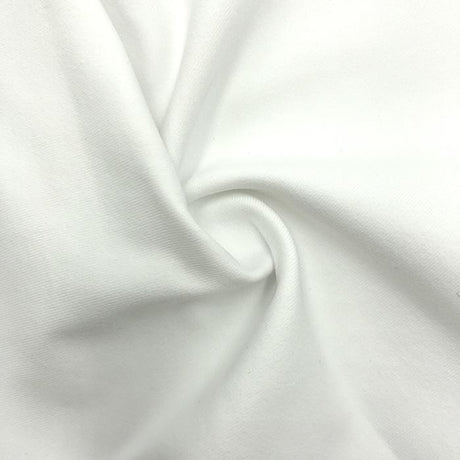
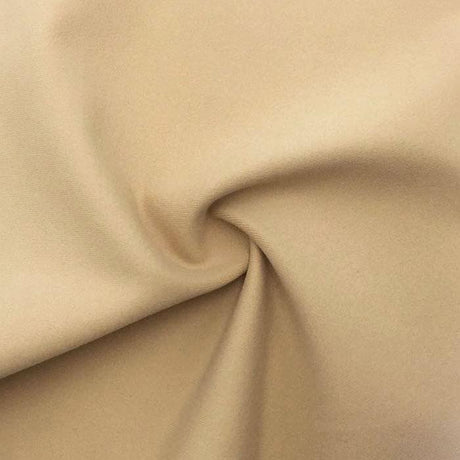
Before we dive into the solutions, it's crucial to understand why spandex can be so challenging to sew. Its very nature is what makes it so useful, but also so tricky.
Challenge 1: The Stretch Factor
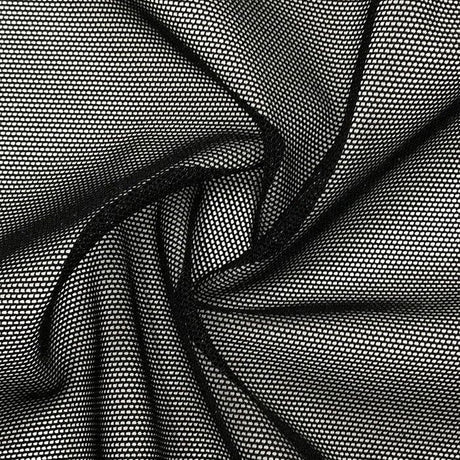
Spandex's primary property is its incredible stretch. When you're sewing, it's very easy to inadvertently stretch the fabric as you feed it through the machine. This leads to wavy, lettuce-like seams and garments that are longer or wider than intended. The fabric is also prone to shifting and slipping on the cutting mat and under the presser foot, making it difficult to achieve a precise cut or a straight seam.
Challenge 2: Popping and Pinging Seams
This is the most common and frustrating problem. You've finished your project, you're excited to try it on, and as you put it on, you hear a series of "ping, ping, ping" sounds as your seams break. A standard straight stitch has no give. When a seam on a stretchy fabric is stretched, the thread has nowhere to go, so it snaps.
Challenge 3: Skipped Stitches and Thread Breakage
A regular sewing machine needle is designed to pierce through woven fabrics. Spandex, being a knit fabric, has a different structure. A standard needle can damage or break the stretchy fibers, leading to a loud popping sound, skipped stitches, and thread breakage.
Challenge 4: Puckering and Bunching
Sometimes, you'll find that your seams look puckered or bunched, even if you didn't pull the fabric. This is often caused by incorrect thread tension, presser foot pressure, or a mismatch between the fabric and your needle.
Part 1: The Essential Toolkit - Your Machine and Its Settings
Success with spandex begins with your sewing machine. The right tools and settings will do most of the hard work for you.
Tool 1: The Right Needle
This is the single most important change you can make. Do not use a standard needle.
- Ballpoint Needles: These needles have a rounded tip that pushes the fabric fibers aside instead of piercing them. This prevents damage to the fibers and reduces the risk of skipped stitches.
- Stretch Needles: These are specifically designed for highly elastic fabrics. They have a more rounded ballpoint and a special eye and scarf to prevent skipped stitches and accommodate the stretch of the thread.
- Size Matters: Use a needle size that is appropriate for your fabric’s weight. For most spandex, a needle size of 75/11 or 90/14 is a good starting point.
Tool 2: The Right Thread
Your thread needs to be able to stretch and recover with your fabric.
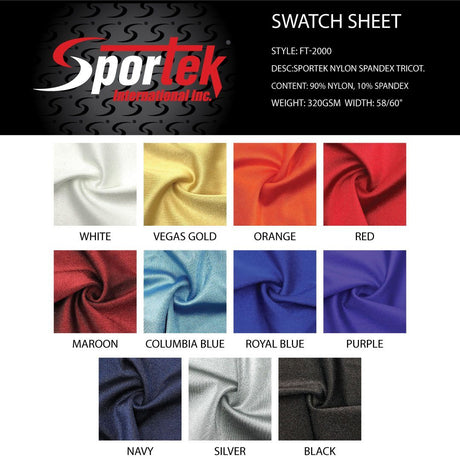
- Polyester Thread: This is the best choice for spandex. Polyester is a synthetic fiber with a bit of stretch, making it much more flexible than a traditional cotton thread. It's strong and durable and comes in a wide variety of colors.
- Nylon Thread: Also a good choice for its strength and durability.
- Avoid Cotton Thread: Cotton thread has no give and will snap immediately under tension.
Tool 3: The Right Stitch
A straight stitch will not work on spandex. You need a stitch that will stretch with the fabric.
- The Zig-Zag Stitch: This is the most common and versatile stretch stitch. It provides a flexible seam that will not snap under tension. A stitch length of 2.0 and a width of 1.5-2.0 is a good place to start.
- The Lightning Bolt Stitch: This is a specialized stretch stitch available on many modern machines. It looks like a jagged line and is designed to provide powerful stretch and excellent recovery. It is perfect for seams that need to be both strong and stretchy.
- The Triple Straight Stitch: This stitch goes forward, backward, and forward again. It provides a very strong seam that has a bit of give. It is a good choice for stabilizing seams in areas that don’t need a lot of stretch.
- A Serger (The Ultimate Solution): If you are a serious spandex sewer, a serger is an invaluable investment. A serger simultaneously stitches, trims, and finishes a seam, creating a professional-looking, highly durable, and incredibly stretchy seam that will never pop.
Tool 4: Adjusting Tension and Pressure
Your machine's settings are as important as your tools.
- Presser Foot Pressure: If your machine has a presser foot pressure dial, try lowering it. This will reduce the pressure on the fabric, preventing it from stretching out as it is fed through the machine.
- Tension: Spandex can be sensitive to tension. If your seams are puckering, try lowering the tension on your machine.
Part 2: Pre-Sewing Preparation - The Foundation for Success
The work you do before you sew is what sets you up for a flawless finish.
Step 1: Prepare Your Fabric
- Pre-Wash: Always pre-wash your spandex fabric in cold water and air-dry it. This will account for any minor shrinkage and remove any manufacturing residue.
- Test the Stretch: Before you cut, test the stretch percentage of your fabric. This will tell you how much stretch your garment will have and help you choose the right pattern size.
Step 2: Cut the Fabric Correctly
Spandex is notorious for its tendency to shift and roll.
- Use a Rotary Cutter and Mat: This is a game-changer. A rotary cutter will give you a clean, precise cut without the fabric shifting.
- Use Fabric Weights: Instead of pins, use fabric weights to hold your pattern pieces in place. Pins can snag the fabric and leave holes.
- Lay It Flat: Never drape your spandex over the edge of a table. Lay it flat on a large surface to ensure that the fabric is not being stretched as you cut.
Step 3: Pin and Stabilize
- Use Clips, Not Pins: Wonder Clips or binder clips are a fantastic alternative to pins. They hold the fabric in place without leaving holes or distorting the fabric.
- Stabilize Key Seams: For areas that need stability (like a shoulder seam, a neckline, or a waistband), use a strip of clear elastic or a lightweight, iron-on knit interfacing. This will provide structure and prevent the garment from stretching out in high-stress areas.
Part 3: The Sewing Process - Techniques for a Professional Finish
You have the right tools and you're prepared. Now it's time to sew.
Technique 1: The "No-Pull" Rule
This is the single most important rule to remember. When you are feeding your fabric through the machine, do not pull or stretch it. Let the machine's feed dogs do all the work. The presser foot will stretch the fabric just enough, and pulling it will only lead to wavy, puckered seams.
Technique 2: Start and End with a Purpose
- The "Fabric Sandwich": To prevent the fabric from getting sucked into the machine at the beginning of a seam, start with a small piece of scrap fabric. Place your spandex on top, forming a "sandwich," and start your stitch on the scrap piece. This will prevent the needle from pushing the fabric down.
- No Backstitching: Backstitching can create a bulky, tangled mess on spandex. Instead, leave long thread tails at the beginning and end of your seam and tie them off in a knot by hand. A serger will automatically secure the seam.
Technique 3: Sewing Curves
- Go Slow: When sewing around curves (like the inseam of a legging or the neckline of a top), go slow and use your hands to gently guide the fabric, letting the machine feed it at a consistent pace.
- Grade Your Seams: For bulky seams, especially on curves, trim the seam allowances to different widths. This will reduce bulk and allow the seam to lie flat.
Technique 4: The Perfect Hem
- The Twin Needle: A twin needle is a fantastic tool for creating a professional-looking, stretchy hem on a domestic machine. It creates two parallel lines of stitching on the top and a zig-zag stitch on the bottom, allowing the hem to stretch without snapping.
- A Coverstitch Machine: A coverstitch machine (often a separate machine from a serger) is the tool used for all professional activewear hems. It creates a stretchy, durable, and flat hem that is impossible to replicate on a standard machine.
|
The Problem |
The Cause |
The Solution |
|
My seams are popping. |
You used a straight stitch. |
Use a zig-zag stitch, a lightning bolt stitch, or a serger. |
|
My fabric is puckering. |
Tension is too high or the presser foot pressure is too high. |
Lower your tension and/or your presser foot pressure. Use a ballpoint or stretch needle. |
|
I have skipped stitches. |
You used the wrong needle. |
Switch to a ballpoint or stretch needle. Make sure the needle is new and correctly installed. |
|
My fabric is wavy. |
You were pulling the fabric as you sewed. |
Remember the "no-pull" rule. Let the machine's feed dogs do all the work. |
Conclusion
Sewing with spandex on a home machine may seem like a difficult task, but with the right knowledge and a handful of expert tricks, it is not only possible but also incredibly rewarding. By choosing the right needle and thread, adjusting your machine's settings, and mastering a few simple techniques, you can overcome the common challenges and create beautifully finished garments that fit and perform exactly as they should.
The key is preparation and patience. Take the time to pre-wash your fabric, use a rotary cutter, and remember the golden rule of "no pulling." With practice, you will develop the confidence and skill to create everything from custom activewear to stylish loungewear that is both durable and comfortable.
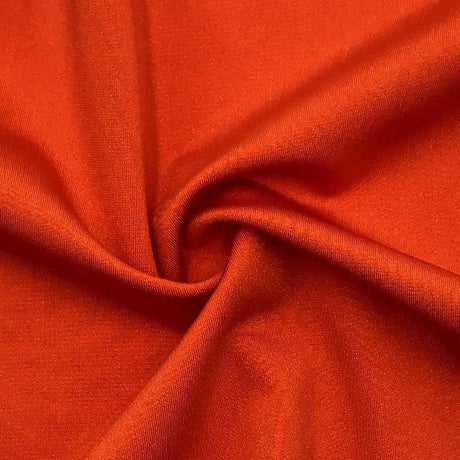
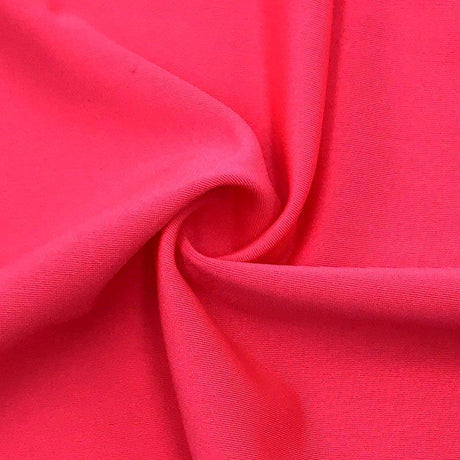
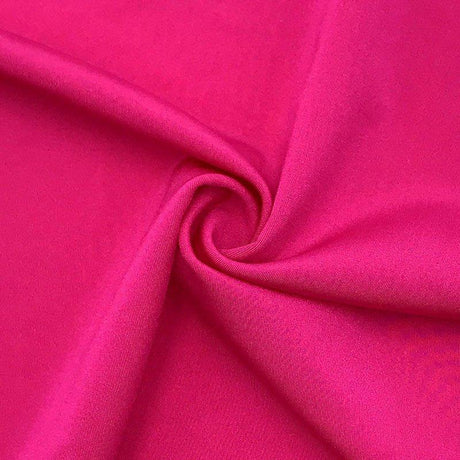
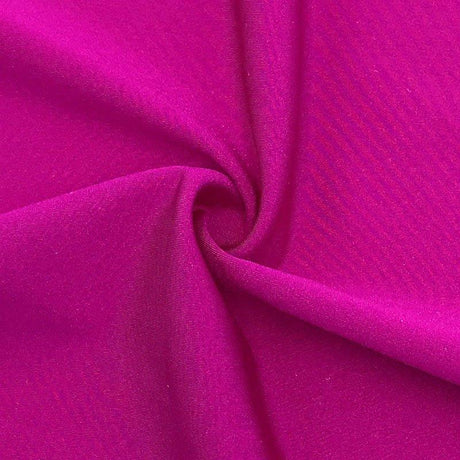
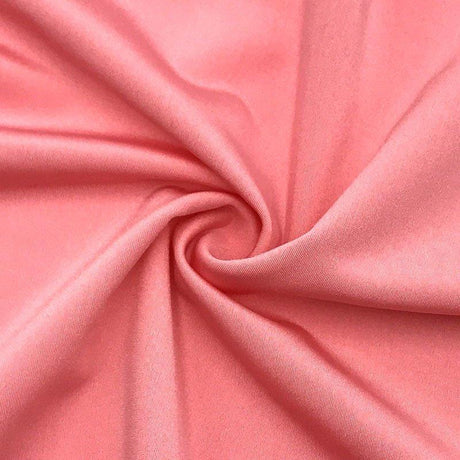
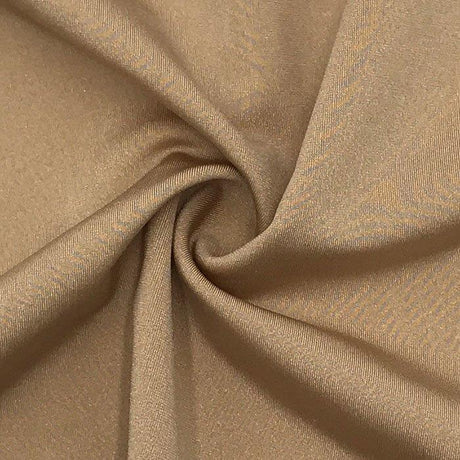
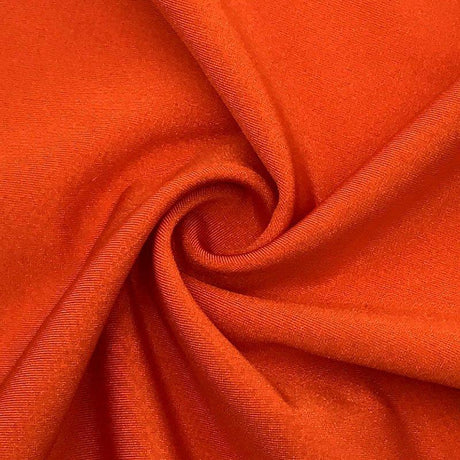
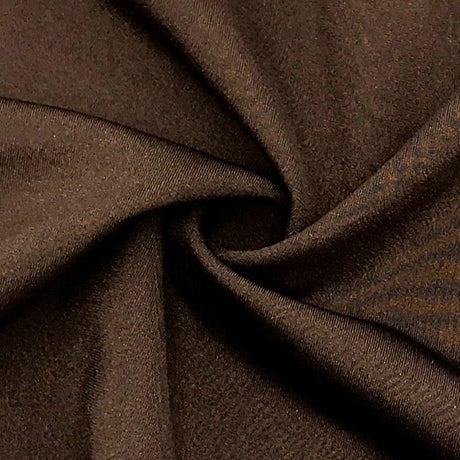
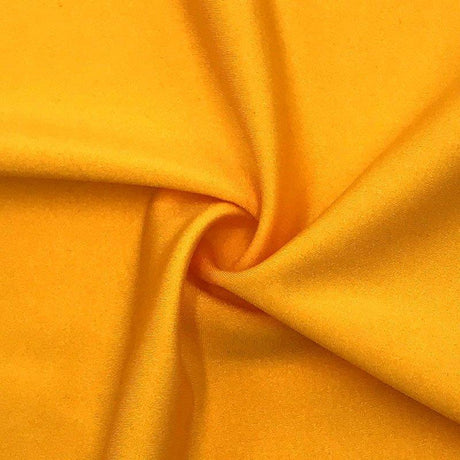
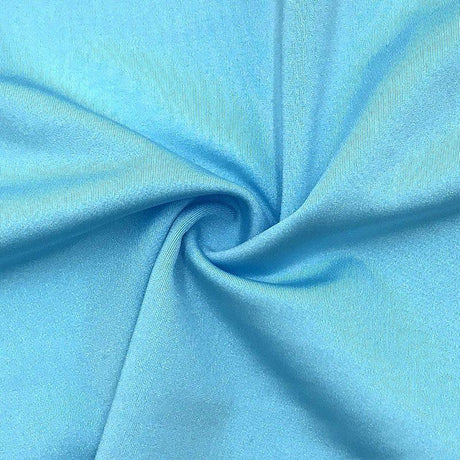
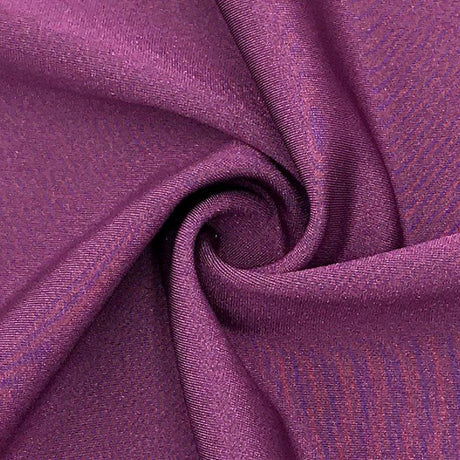
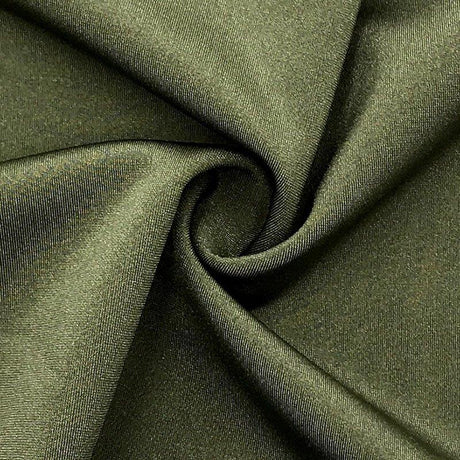
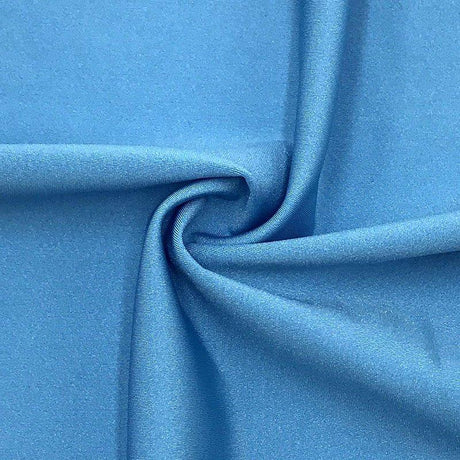
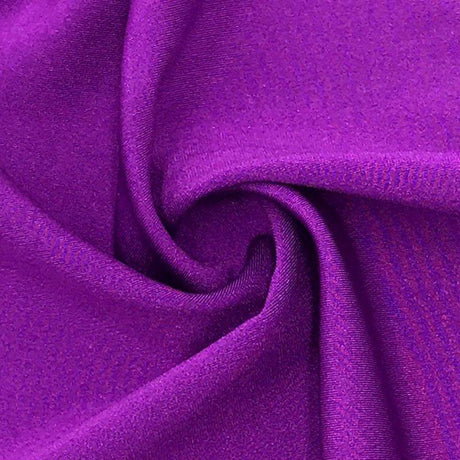
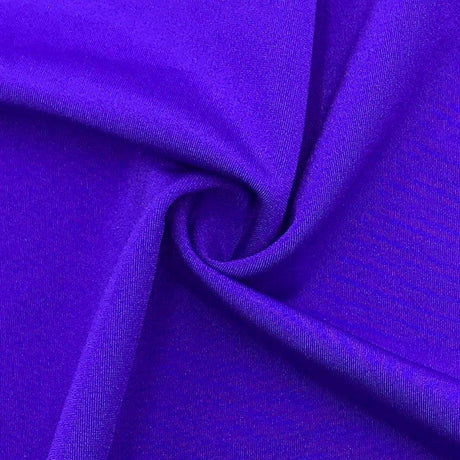
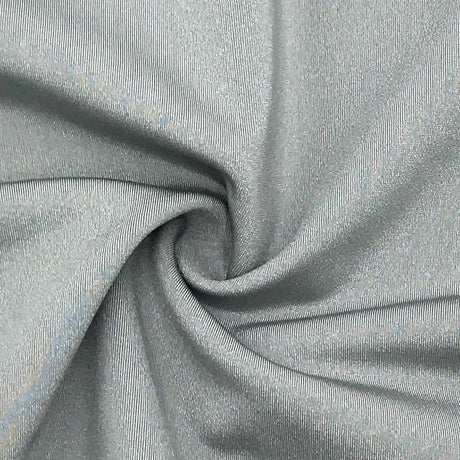
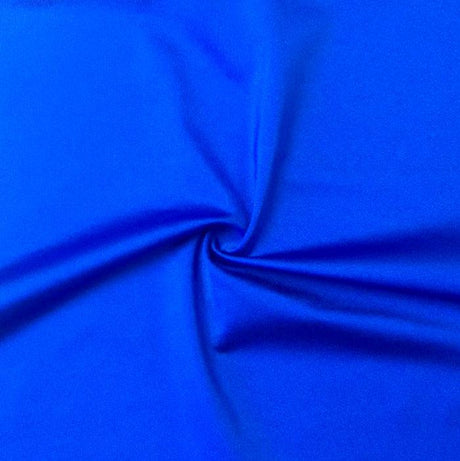
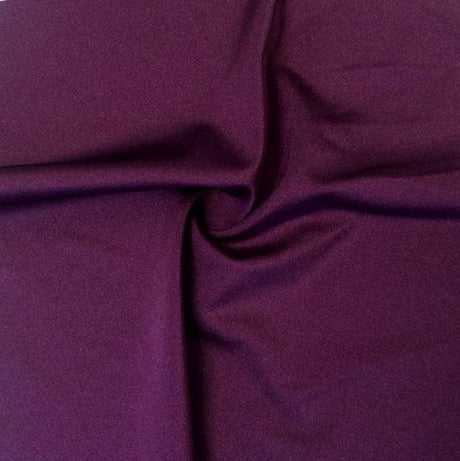
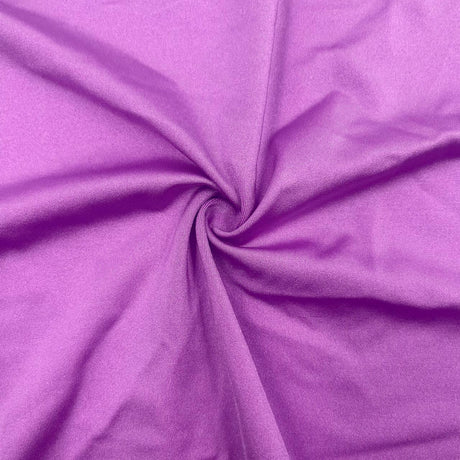
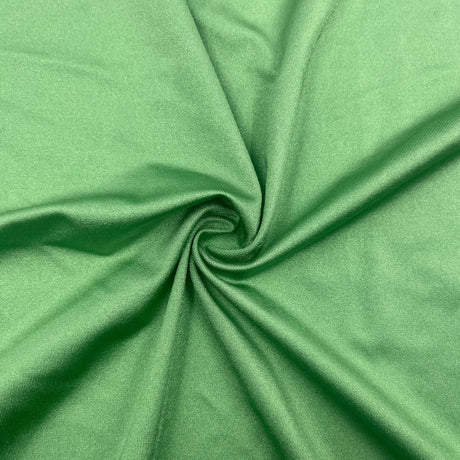
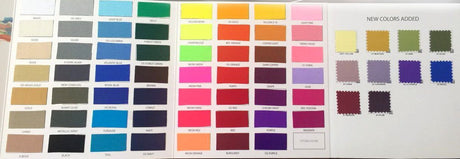
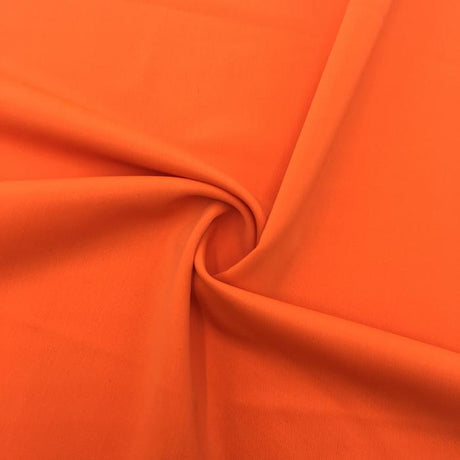
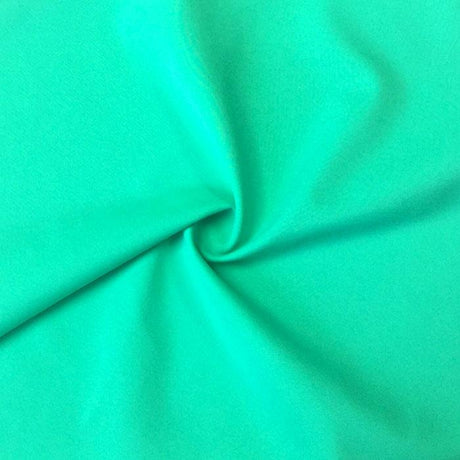
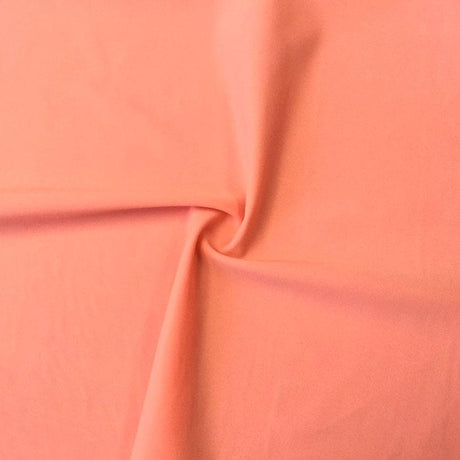
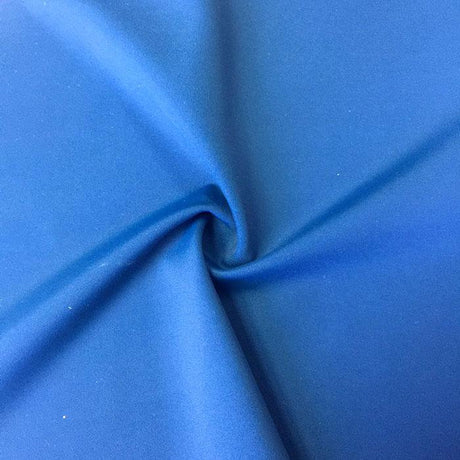
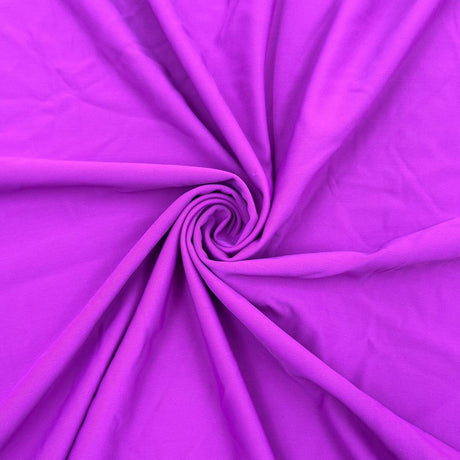
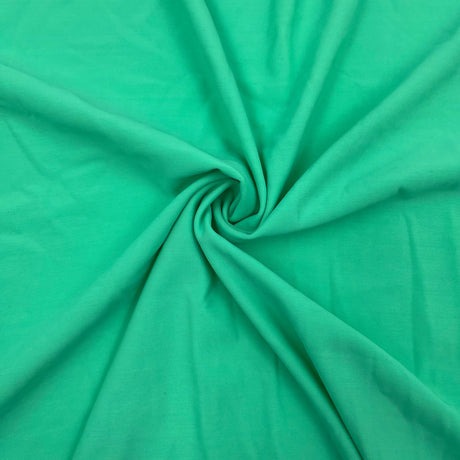
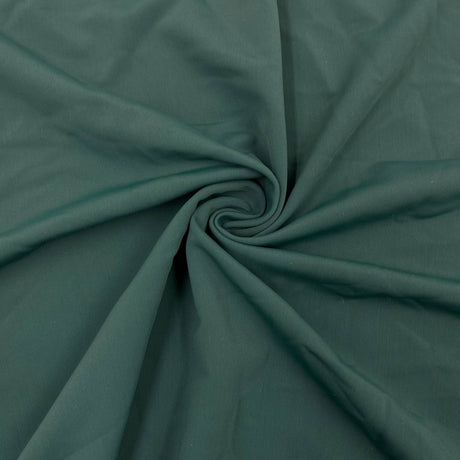
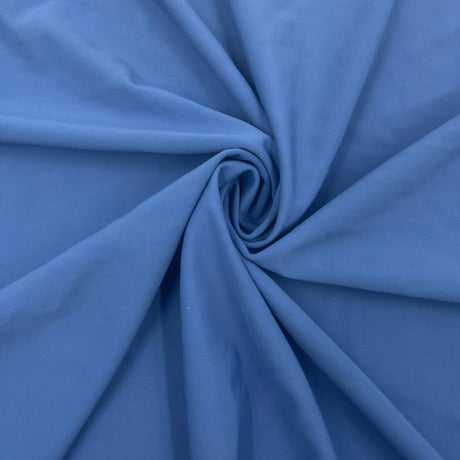
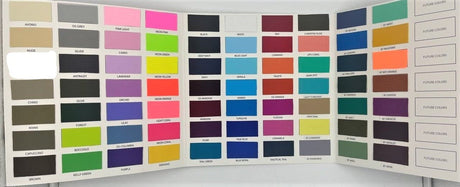
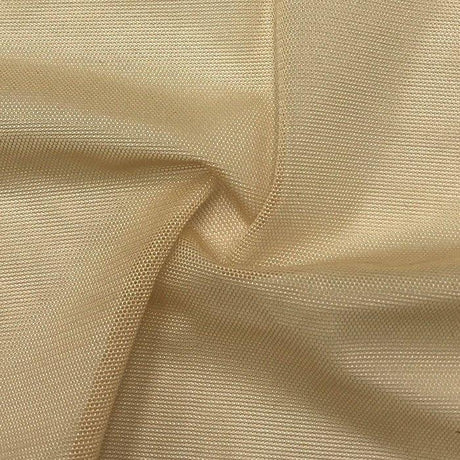
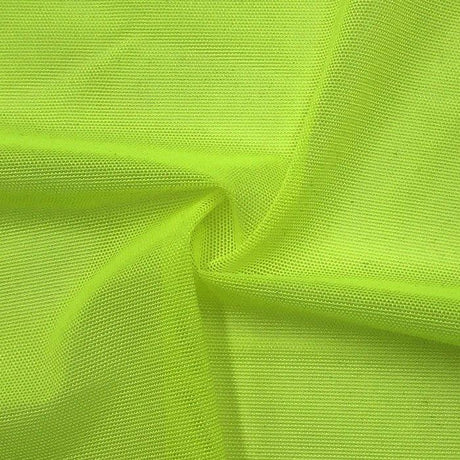
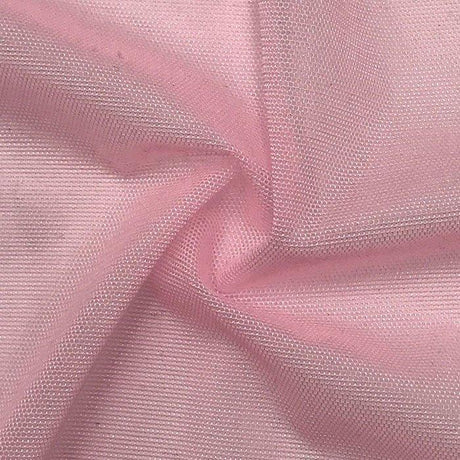
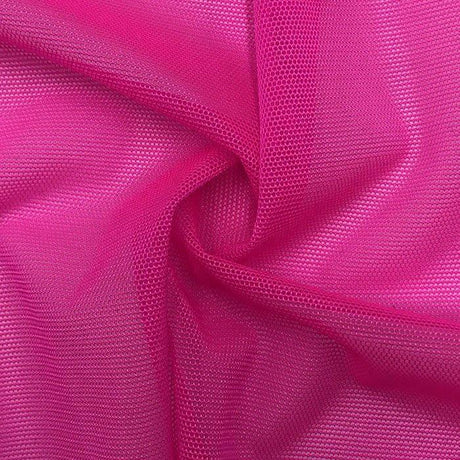
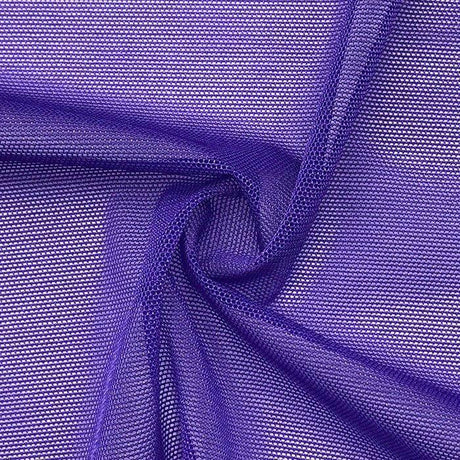
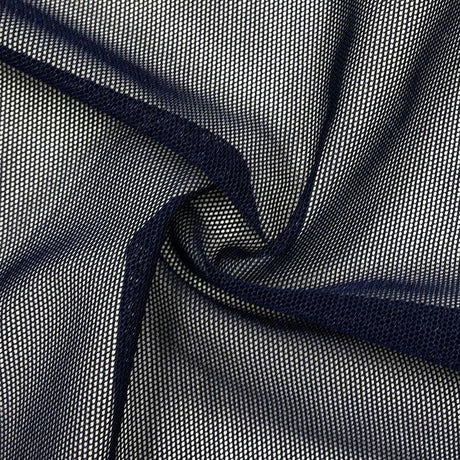
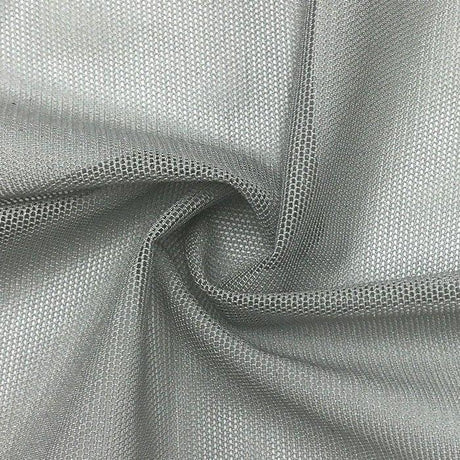
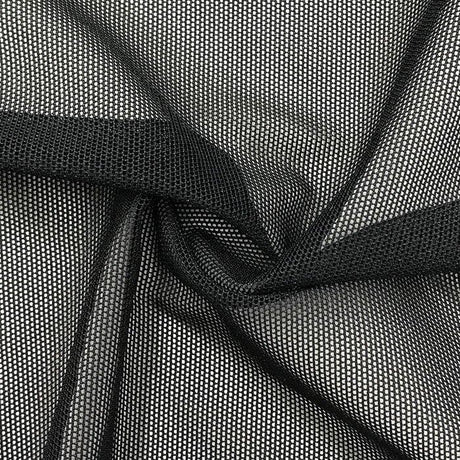
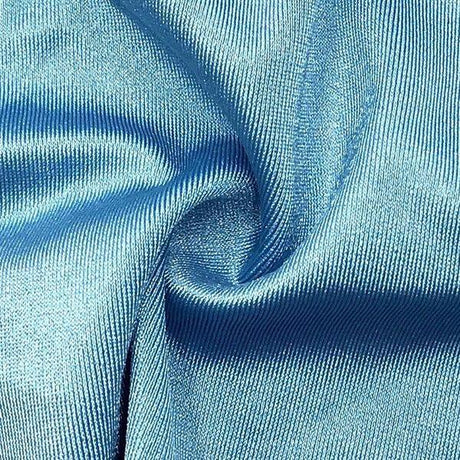
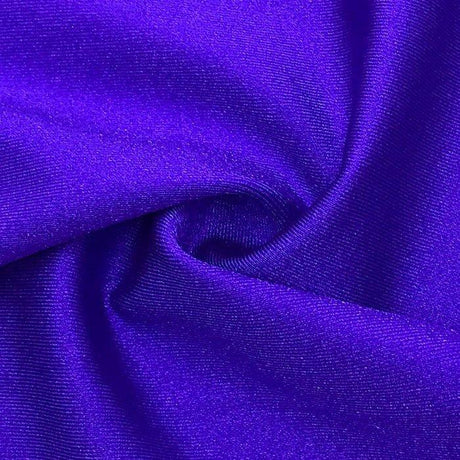
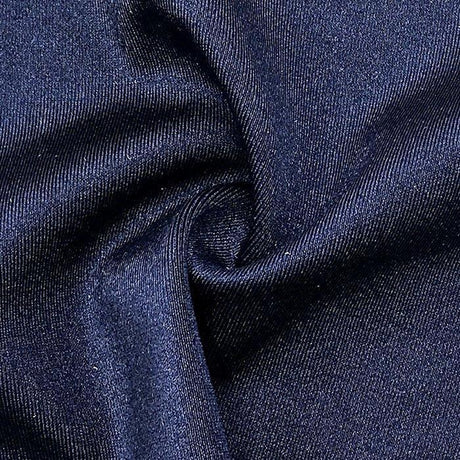
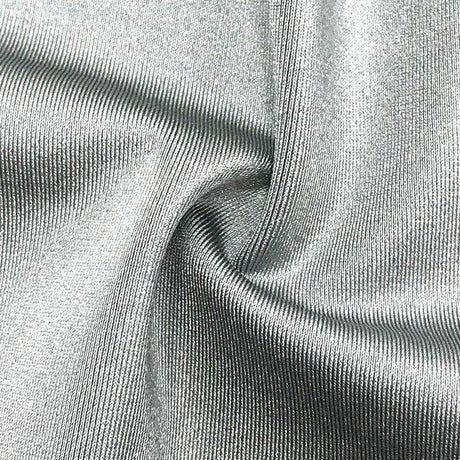
Ready to start your next project? At SpandexByYard.com, we offer a wide selection of high-quality spandex fabrics in a variety of weights, finishes, and blends. A better fabric is always easier to sew. Explore our collection and discover the perfect material for your next creative endeavor.