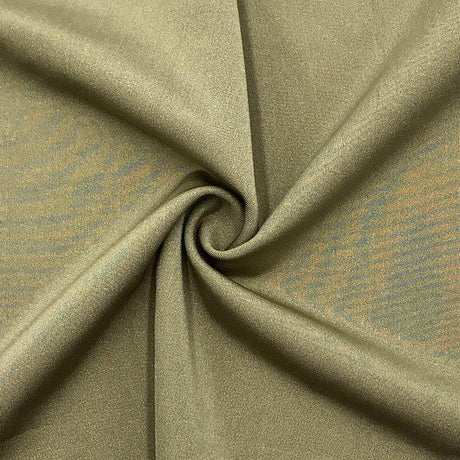
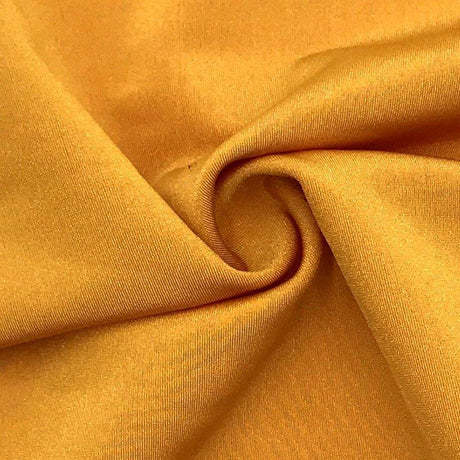
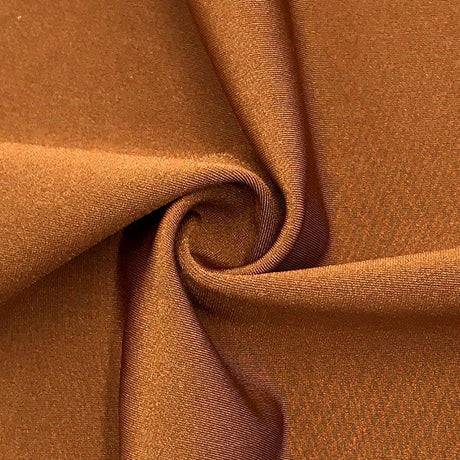
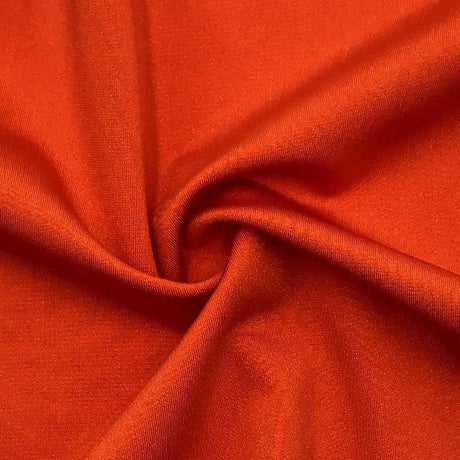
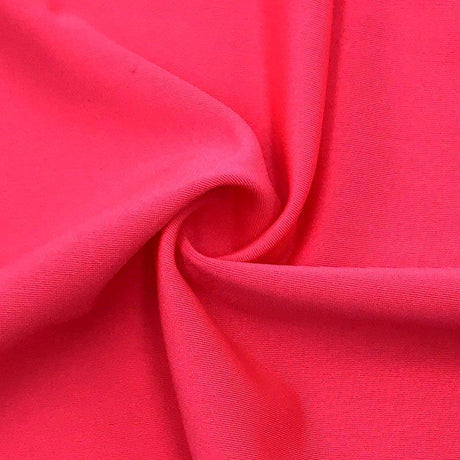
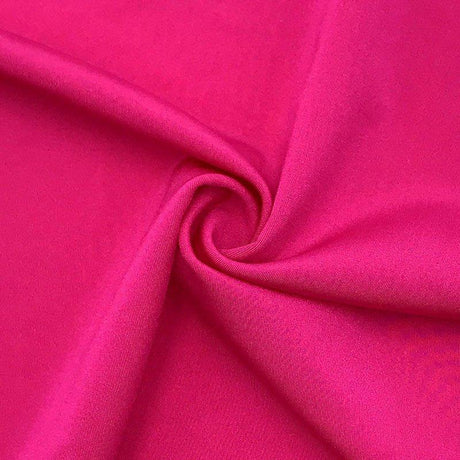
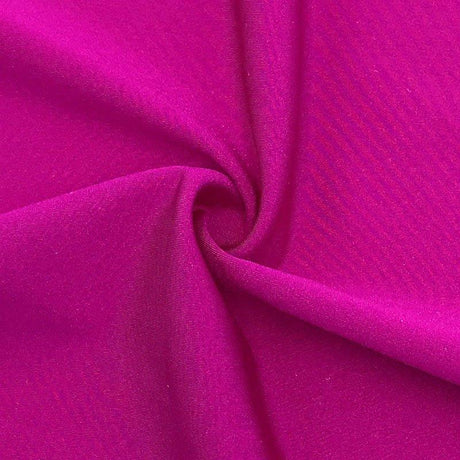
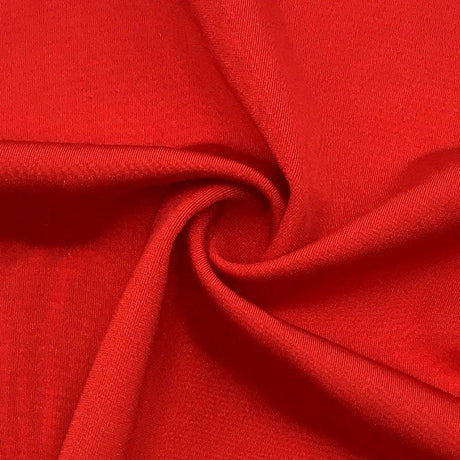
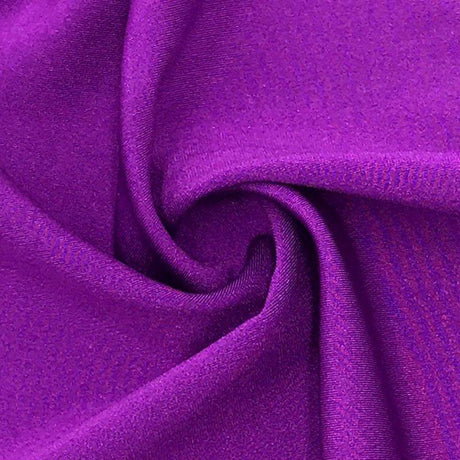
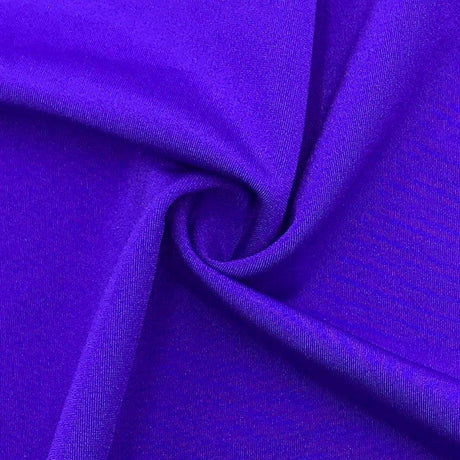
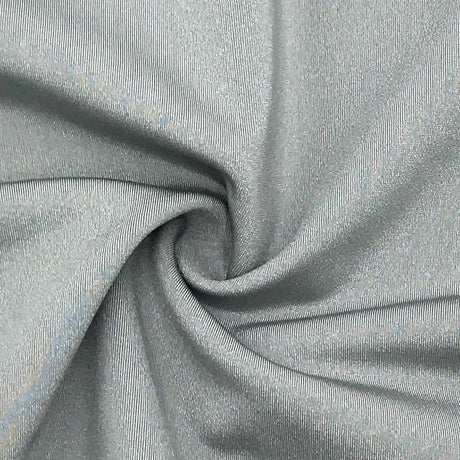
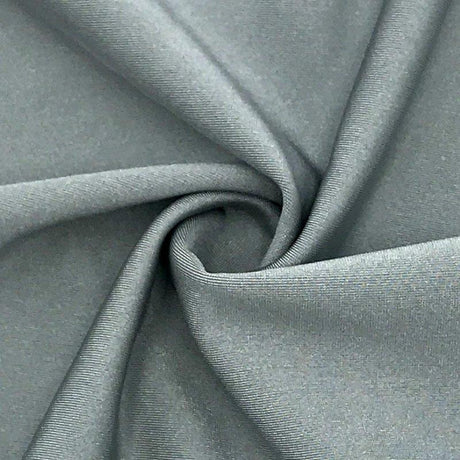
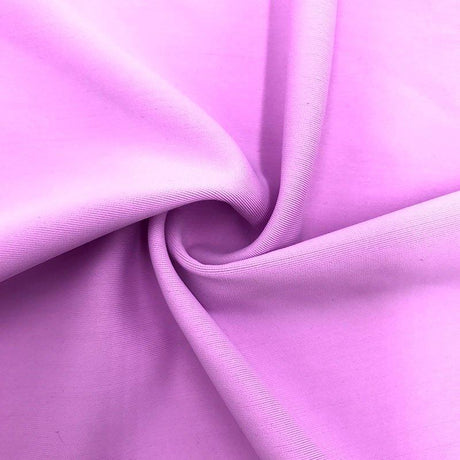
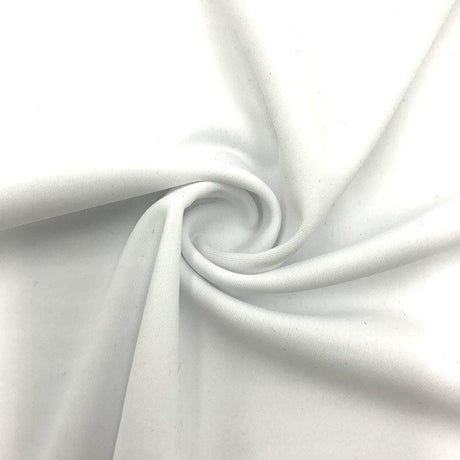
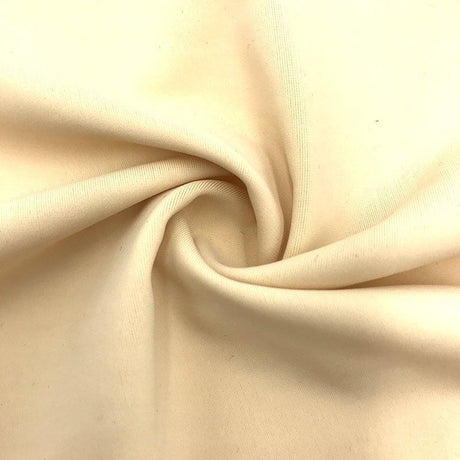
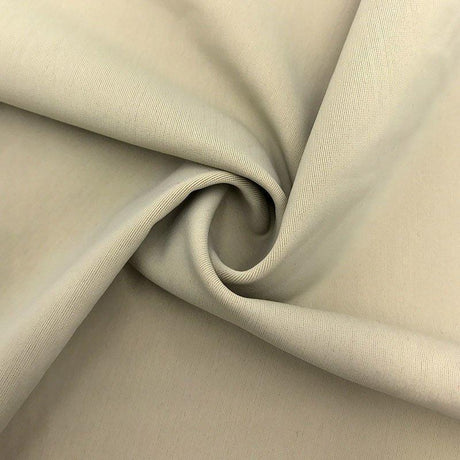
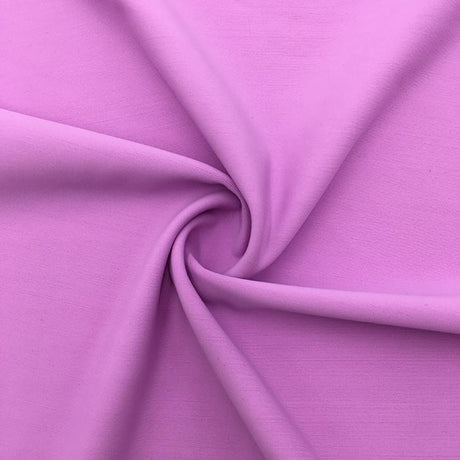
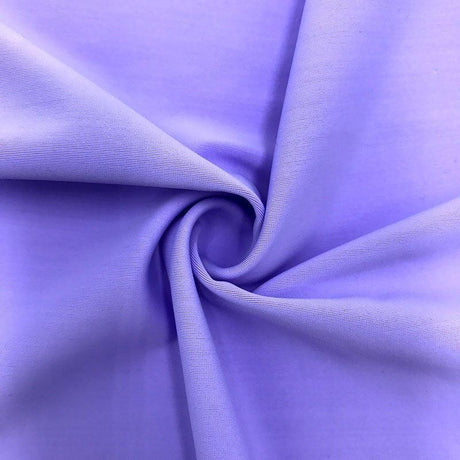
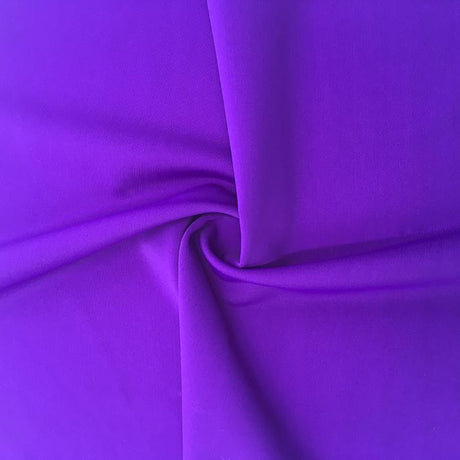
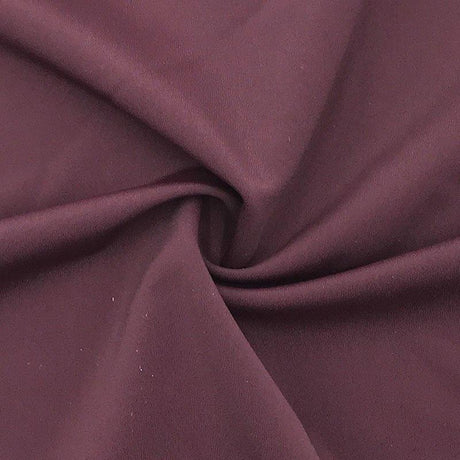
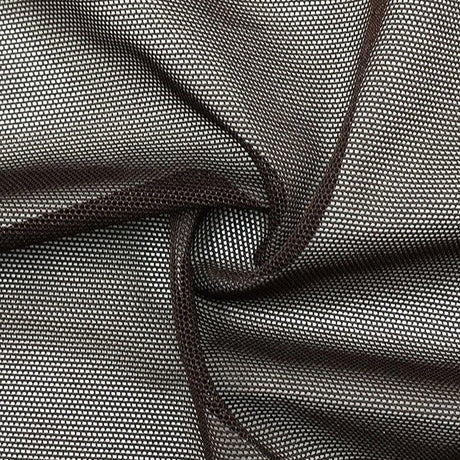
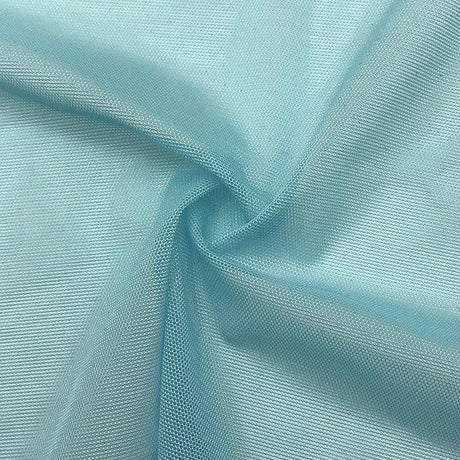
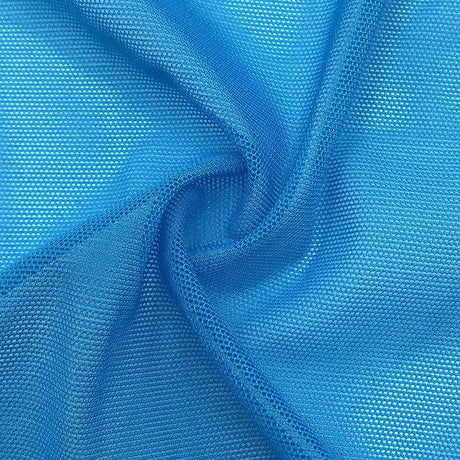
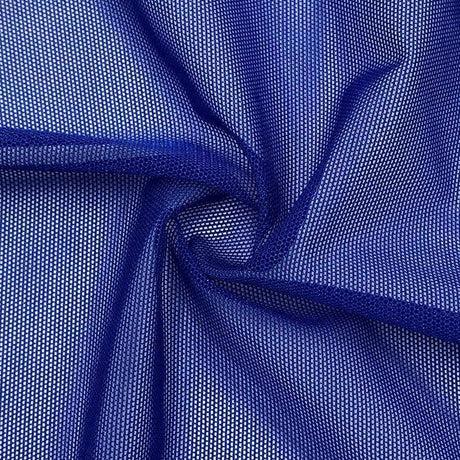
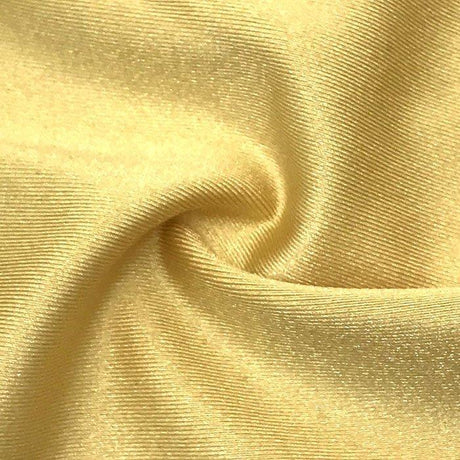
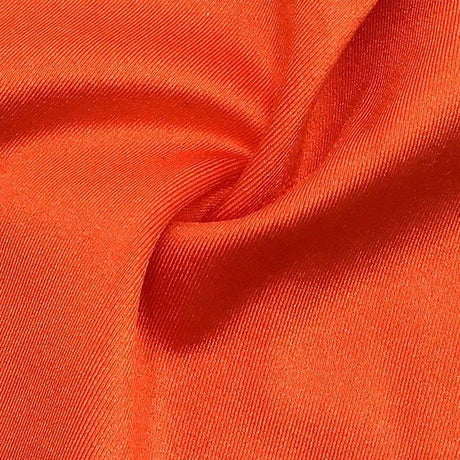
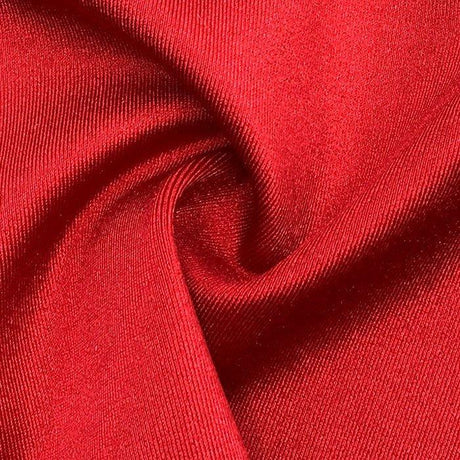
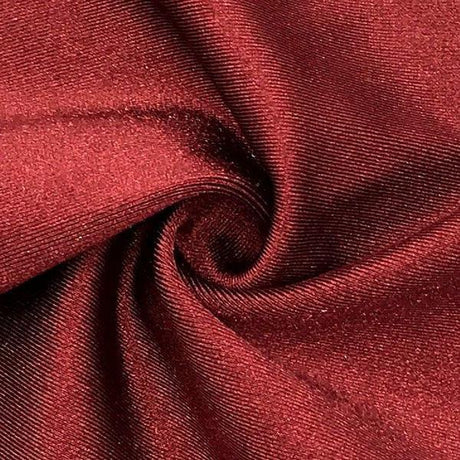
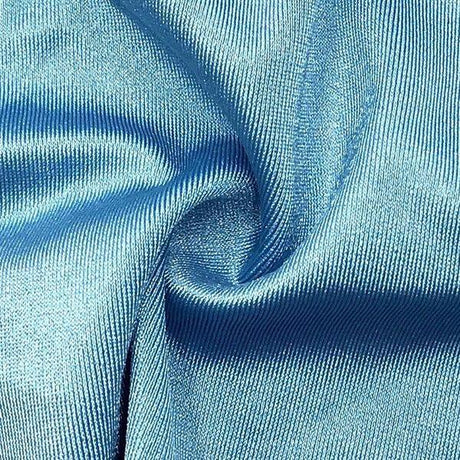
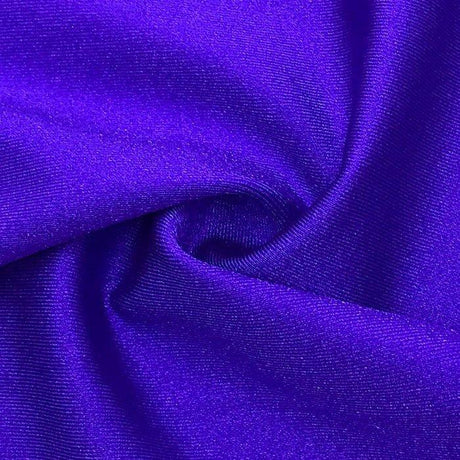
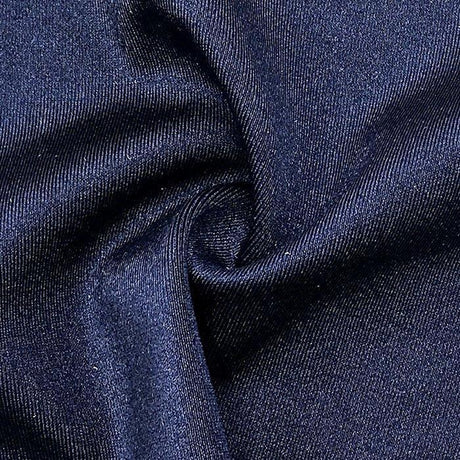
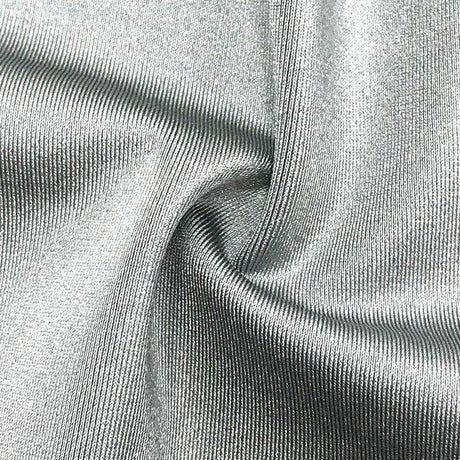
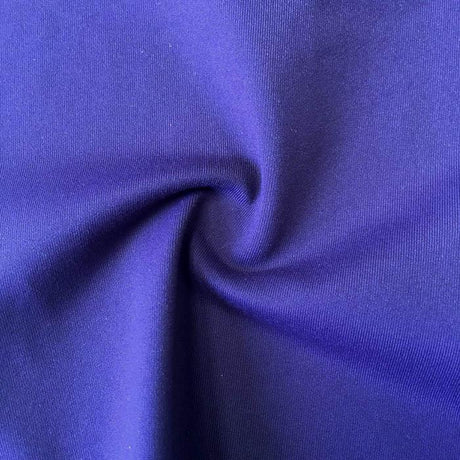
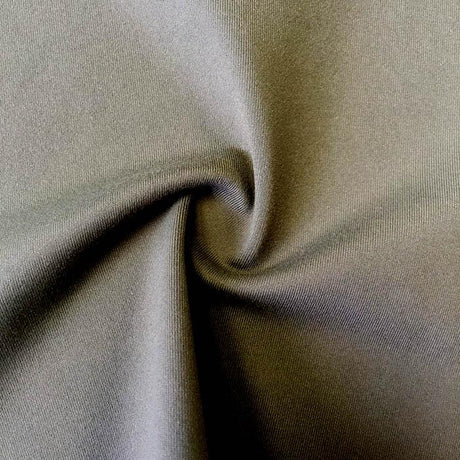
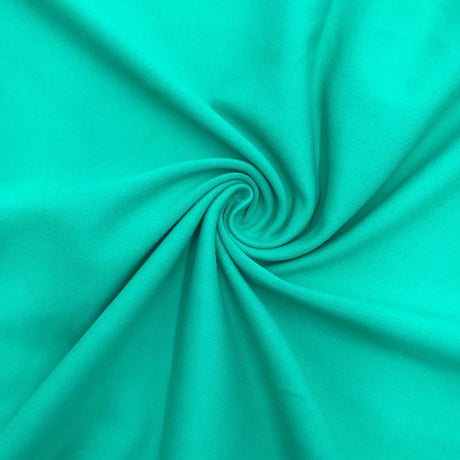
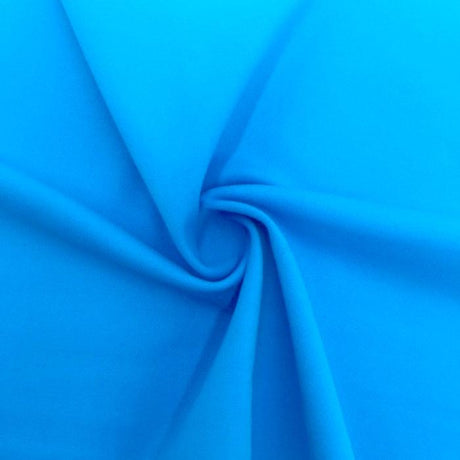
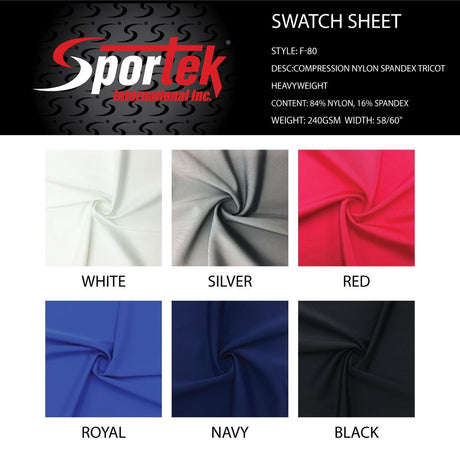
Sewing stretchy knit fabrics (like jersey, Lycra®, and spandex blends) can be rewarding but also challenging if you don’t use the right techniques. Many sewists – beginners and seasoned alike – have experienced wavy seams, popped threads, or skipped stitches when working with stretch materials. These issues often boil down to a few common errors. In this article, we’ll explore the top five sewing stretch fabric mistakes and explain how to avoid them for professional-looking results. From needles and thread to stitching techniques and fabric handling, we’ll cover practical tips (and even mention where to find specialty supplies like spandex fabrics, stretch needles, and elastic thread at shops such as SpandexByYard.com) to ensure your knit garments come out smooth and resilient. Let’s dive into these mistakes and their fixes, so you can sew stretch fabrics with confidence!
1. Using the Wrong Needle Type
One of the biggest mistakes in sewing stretch fabrics is using a standard universal needle instead of a ballpoint or stretch needle. A regular sharp needle is designed for tightly woven fabrics; when used on knits, it can snag or cut through the fibers, causing skipped stitches and even tiny holes in the fabric. You might hear popping sounds as the needle punctures elastic fibers – a clear sign of damage. In short, the wrong needle can lead to frustration and an unsightly, weakened seam.
Why it’s a problem: Stretchy knit fabrics are made of interlocking loops, not straight threads. A sharp needle will pierce and break these loops instead of sliding between them. This often prevents the machine from forming proper stitches (hence the skipped stitches) and can create runs or holes in the material. The result is a seam that looks imperfect and may come apart easily because the fibers have been damaged.
How to fix or avoid it:
- Use a ballpoint or stretch needle every time. These needles have a rounded tip that pushes aside the fabric fibers rather than tearing them, allowing the needle to pass through without damage. Ballpoint needles work well for most knit fabrics, while stretch needles are a special type of ballpoint designed for highly elastic fabrics like spandex and Lycra. For example, if you’re sewing a swimsuit or activewear with 50%+ stretch, a stretch needle is the best choice for a professional, skip-free finish.
- Choose the correct size. Match the needle size to your fabric’s weight. Common sizes are 75/11 or 80/12 for light to medium knits, and 90/14 for heavier or thick stretch fabrics. Using too large a needle on a delicate jersey could leave holes, while too fine a needle on a thick ponte knit might bend or break.
- Change needles regularly. Even the proper type of needle can get dull or bent after extensive use. Start each new knit project with a fresh needle – it’s a cheap insurance policy to prevent skipped stitches and snags. If you ever notice skipped stitches partway through sewing, try changing the needle first.
- Tip: When buying needles, look for packaging that says “Jersey”, “Ballpoint”, or “Stretch”. Brands like Schmetz make these in various sizes. Specialty suppliers (such as SpandexByYard.com) often stock stretch needles ideal for knits, since they cater to stretch fabric enthusiasts.
By choosing the right needle for your stretch fabric, you’ll immediately eliminate one of the main causes of skipped stitches and holes. The sewing experience will be much smoother, and your seams will thank you!
2. Choosing the Wrong Thread
The thread you use is just as crucial as the needle. A common sewing stretch fabric mistake is using 100% cotton or other non-elastic thread on a project that needs to stretch. Standard cotton thread has virtually no give – so once you pull a knit garment seam, the thread can’t stretch with the fabric and will snap. This leads to the infamous “popped seams”: you hear threads breaking (“ping, ping, ping”) as soon as the garment is worn or stressed. Using the wrong thread essentially creates a rigid line on a flexible fabric, which is a recipe for seam failure.
Why it’s a problem: Stretch fabrics like spandex or jersey require seams that can expand and rebound with the fabric’s movement. If the thread is too rigid (like cotton), it puts all the strain on the thread when the fabric stretches. The result is often broken stitches and open seams even if your stitch type was correct. Additionally, weaker or old thread can break from the constant stress of stretching. You don’t want your beautifully sewn leggings coming apart at the seams due to thread that couldn’t handle the job.
How to fix or avoid it:
- Use polyester thread for knit projects. Polyester all-purpose thread is considered the go-to for stretch fabrics because polyester has a slight inherent stretch and high tensile strength. It will give a little when the seam is stretched and is less likely to break. Most quality sewing threads labeled “All Purpose” (Gutermann, Coats & Clark, etc.) are polyester or poly-wrapped and work well for knits. In fact, polyester is “the clear winner for stretch fabrics and activewear—it flexes with the fabric, preventing popped seams”.
- Avoid 100% cotton thread on high-stretch seams. Cotton thread is strong but has no elasticity, so it’s prone to snapping under tension. Reserve cotton thread for quilting or sewing crisp wovens. For stretch fabric, polyester is safer. (One exception: if you’re topstitching a minimally stretchy area on a knit, cotton could work, but generally polyester is better across the board.)
- Consider specialty stretch threads for extra elasticity. There are innovative threads like woolly nylon (used in serger loopers or bobbin) and new stretch threads (e.g. Seraflex or Maraflex) which are designed to stretch significantly. Woolly nylon is a textured nylon thread that can expand and contract, making it great for seams that need maximum stretch and a soft finish (often used in swimwear or lingerie). Seraflex (by Mettler) and Maraflex (by Gütermann) are relatively new threads that allow you to sew a stretchable straight stitch on a regular machine – an advanced option if you need both strength and stretch. These are optional tools, but they can be “game changers” for knit sewing, as some sewists note. If you’re interested, you can find them through sewing retailers or specialty shops.
- Use fresh, quality thread. Old thread becomes brittle over time. For critical seams on stretch fabric, make sure your thread isn’t ancient or cheap/fluffy (which can break easily). It’s worth investing in a good brand of thread for durability.
By choosing a strong, slightly stretchy thread like polyester (and avoiding non-stretchy cotton thread), you’ll create seams that can handle the movement of knit garments. This prevents those disappointing moments when a seam gives way as soon as you put on your newly made outfit. The right thread, paired with the right needle, sets you up for success from the start.
3. Using a Straight Stitch Instead of a Stretch Stitch
It may be tempting to sew knits with the same straight stitch used on woven fabrics, especially since a straight seam looks clean. However, a standard straight stitch has no flexibility – and on stretch fabrics, that’s a big mistake. If you sew a stretchy garment with a regular straight stitch, the first time the fabric stretches, the stitches are likely to crack and pop open. The seam simply can’t expand, so threads break under the strain, often making a heartbreaking “rip” sound when you try on the garment. What looked like a neat seam will split as soon as it’s pulled.

Straight stitches might look neat on a knit fabric at first, but the minute you stretch the fabric, the thread snaps because a straight seam isn’t stretchy.
Why it’s a problem: Stretch fabrics “need your stitches to stretch, too”. A straight stitch forms a locked, inflexible seam. Think of it like using a non-stretch rope on a bungee cord – as the bungee (fabric) extends, the rope (stitch) doesn’t, so it snaps. This is why many sewing machines have special elastic stitch options or stretch stitches; they are engineered to give elasticity to the seam so it can move with the fabric. Using the wrong stitch (or the wrong machine settings) will almost certainly result in broken seams once the garment is worn.
How to fix or avoid it:
- Use a stretch-friendly stitch for construction seams. The easiest solution on a standard sewing machine is to use a zigzag stitch. A medium or narrow zigzag will allow the seam to stretch because of the zigzag’s “zig-zag” shape which can elongate. A common setting is about 0.5 mm width by 2.5 mm length for a very narrow zigzag if you want it to appear almost straight but still stretch. You can also use your machine’s built-in stretch stitch (sometimes called a lightning bolt stitch, shown as a jagged lightning icon on many machines). This stitch looks like a stepped zigzag – it sews forward and backward in a lightning-shaped line. It was designed to stretch without breaking and is excellent for knit seams. Another option is the triple straight stitch (also called a triple stretch stitch), which goes forward-back-forward; it creates a strong seam with some give, suitable for areas that need stability but still a bit of stretch.
- Finish seams with a serger if you have one. A serger (overlock) machine is the ultimate tool for knit fabrics – it sews an elastic, very durable seam and trims the excess in one step. Sergers use looped threads that naturally stretch a lot. While not everyone has a serger, it’s worth noting that “a serger creates a professional-looking, highly durable, and incredibly stretchy seam that will never pop”. If you don’t have one, don’t worry; you can still get great results with zigzag or stretch stitches on a regular machine.
- Hems and special areas: For hemming stretch fabrics, a popular method is to use a twin needle on your regular machine to mimic a coverstitch hem. A twin needle creates two parallel straight stitch lines on top and a zigzag on the underside, giving a stretchy hem finish. Just remember to use a stretch twin needle (they come in ballpoint form) so you don’t puncture the knit fibers. Alternatively, a simple zigzag hem or a stretch blind hem stitch can also work. The key is that the hem stitch must have some flexibility.
- Adjust settings for success: Whichever stretch stitch you choose, always test on a scrap of your fabric first. You might need to adjust stitch length, width, or thread tension for an optimal result. Many experts suggest starting with a narrow zigzag if you’re new to sewing knits – it’s easy to do and quite forgiving. Also, remember to lower your presser foot pressure if your machine allows (more on this in the next section), as that can prevent the fabric from stretching out while you stitch.
In summary, don’t use a straight stitch for seams on stretch fabric. Opt for any stitch that looks zigzagged or otherwise built to stretch. By doing so, you’ll ensure your seams can expand and recover with the garment – no more popped threads when you pull on a knit sleeve or waistband. This adjustment is one of the quickest ways to improve your stretch-fabric sewing results.
4. Stretching or Pulling the Fabric While Sewing
Another very common mistake is manhandling the fabric – stretching, pulling, or pushing it as it goes through the machine. It’s natural to want to guide the fabric, but knit materials are sensitive to this. If you tug on the fabric (either pulling it from behind or holding it taut in front), you’re likely to distort it under the presser foot, resulting in wavy, ripply seams and stretched-out garment pieces. Essentially, the fabric temporarily lengthens as you sew, and when it relaxes, the seams won’t lie flat. This can turn your hem or seam into a “lettuce edge” unintentionally – wavy and fluted. Overhandling can also cause the garment to end up larger or misshapen because it was stretched during construction.
Why it’s a problem: The feed dogs on your sewing machine are designed to pull the fabric through at the right pace. When you apply extra tension by pulling, you override that control and stretch the fabric out of shape. Knit and spandex materials have elastic fibers that easily stretch with even mild pressure, so it doesn’t take much to deform them during sewing. The effect is usually seen as puckering or “waves” along the seamline once the fabric relaxes. Moreover, if the weight of the fabric is hanging off the table (for example, a long jersey dress drooping over the edge), the sheer weight can stretch the portion being sewn, again leading to distortion. All these issues make the finished product look less professional – nobody wants a twisted, wavy seam on their t-shirt or yoga pants.
How to fix or avoid it:
- Follow the “no-pull” rule. Let the machine do the work of feeding the fabric. Do not push or pull the fabric from either direction as you sew. You can gently guide it to keep it straight, but your hands should be there for guidance only, not to apply tension. If you find yourself pulling to help it along, chances are something else is wrong (like a dull needle or improper foot). In normal circumstances, the feed dogs will advance the knit fabric just fine. Trust them!
- Support the fabric’s weight. If you’re sewing something heavy or large (like a long knit gown or a length of spandex fabric), make sure the part not under the needle is supported. Letting it drape off your sewing table will cause it to stretch from its own weight. Arrange your workspace so that the fabric is mostly on the table or in your lap at the same height as the machine. This way, you’re not inadvertently stretching the section being sewn. Some sewists set up an extra table or chair next to the sewing area to catch the fabric.
- Adjust presser foot pressure if possible. Many modern machines allow you to reduce the presser foot pressure. Heavy pressure can stretch knit fabric as it’s being sewn, contributing to that wavy look. If your seams are consistently wavy, try dialing down the presser foot pressure (a lower number = less pressure). A setting of 1 or the lowest setting is often recommended for knits. This lighter touch lets the fabric feed without being squeezed and distorted.
- Use a walking foot for tricky fabrics. A walking foot (also known as an even feed foot) is a special sewing machine foot that has its own set of feed dogs to pull the top layer of fabric. It works in sync with the machine’s lower feed dogs, so both layers of fabric are fed evenly. This can be a lifesaver on very stretchy or slippery knits because it prevents the bottom layer from outpacing the top layer. The walking foot essentially reduces drag and stretching, helping avoid ripples. If you don’t have a walking foot, you can also try a “knit foot” if available, which is designed to reduce pressure and help glide knit fabrics through. These are not mandatory, but they’re nice tools if you frequently sew stretch fabrics.
- After-sewing fixes: If despite your best efforts a seam comes out a bit wavy, don’t panic. Often a good press with steam can shrink a stretched seam back into shape. Hover the iron above the seam and let the steam relax the fibers, then gently press – this can remove that wavy effect in many cases. (Just be careful with synthetic spandex; use a pressing cloth and appropriate heat.)
Remember, when sewing stretch fabrics, resist the urge to stretch the fabric. Keeping the fabric relaxed and letting the machine feed it will result in flat, smooth seams instead of “lettuce edge” ruffles. This might feel counterintuitive if you’re used to guiding wovens, but with knits, a light touch is key. Master this, and you’ll see a dramatic improvement in the look of your finished seams.
5. Not Stabilizing Seams or Hems Properly
Stretch fabrics by nature like to… well, stretch! While that’s great in wear, certain areas of a garment actually benefit from being stabilized so they don’t stretch out of shape over time or during construction. A common mistake is to sew areas like shoulder seams, necklines, zippers, or hems on knits without adding any form of stabilizer, resulting in distorted or sagging openings and seams. For example, the shoulder seams of a t-shirt can gradually lengthen or droop if they’re not reinforced, because the weight of the garment pulls on them. A knit neckline might flop or lose its shape without some stabilization. Not stabilizing can also make it harder to sew certain areas (like zipper insertions or buttonholes on a stretchy fabric) because the fabric could stretch or ripple as you sew, creating a wavy mess.
Why it’s a problem: Some parts of a stretch garment are under stress or need to maintain a particular shape. Shoulder seams carry the weight of the garment, waist seams in stretch skirts/pants hold the garment’s shape, necklines and buttonholes need to remain stable to function, and hems can easily ripple if stretched while sewing. If these areas are not supported, you might end up with wobbly, stretched-out seams or openings that don’t recover. A classic example is a knit shoulder seam that starts on the shoulder and after a day of wearing ends up halfway down your arm because it “grew.” Another is a curved neckline that sags or a knit hem that waves. These issues make the garment look homemade (in the not-so-good sense). The good news is that stabilizing is easy and makes a huge difference in the finished look.
How to fix or avoid it:
- Use stabilizing materials on key areas. For shoulders, necklines, and waist seams, a common solution is to sew in a strip of clear elastic, twill tape, or stay tape along the seam as you stitch it. For instance, when sewing a shoulder seam on a knit top, you can lay a 1/4″ clear elastic strip in the seam allowance and stitch it in – the elastic prevents the shoulder from stretching out, but still allows some flexibility. This technique is widely used in ready-to-wear. Another approach is using a small piece of interfacing: a lightweight fusible knit interfacing can be ironed onto areas like a neckline facing, pocket opening, or even hem, to add structure. Make sure to use stretch-compatible interfacing (often labeled tricot interfacing) so it doesn’t completely eliminate the fabric’s stretch – it should stabilize but not make the area stiff. Specialty suppliers carry stretch fusible interfacings made for knits. For hems, you can use fusible hem tape for knits, which is a gentle adhesive tape that keeps the hem from stretching while you sew (and can stay in the hem to give it a bit of weight and support). MadamSew, for example, notes that fusible hem tape “can be used to stabilize knits” and still retains a bit of stretch (though it’s not suitable for extremely stretchy 4-way spandex). Using such a tape on a knit hem before twin-needle stitching can yield a smooth, pucker-free result.
- Stabilize when inserting zippers or buttonholes. If your stretch fabric garment has a zipper (say, the back of a dress or a hoodie zipper) or buttonholes (like on a Henley neckline or cardigan), always interface those areas. It’s nearly impossible to put a zipper into a slinky knit without stabilizer – you’ll get waves and it may even stretch so much the lengths don’t match. A strip of fusible knit interfacing on the zipper seam allowances works wonders by preventing distortion. Likewise, iron a small square of interfacing on the wrong side of the fabric where a buttonhole will go; this gives the fabric just enough firmness to be cleanly cut and not tear.
- Use stay tapes or binding on seams that shouldn’t stretch. One classic example: shoulder seams. Many patterns for knit tops instruct you to stay-tape the shoulder. You can buy thin knit stay tape, or simply cut a narrow strip of interfacing or even selvage of a stable woven fabric, and sew it into the shoulder seam. This keeps that seam from growing. Another example is a waistline seam on a knit dress – if that seam is not meant to stretch (because there’s elastic or because it’s the anchor point), stabilizing it will keep the dress from drooping at the waist.
- Know when not to stabilize: You don’t need to stabilize every seam – only those that benefit from extra support. Side seams, sleeve seams, etc., usually don’t need it because you want them to stretch with the body. Focus on areas that carry weight or where stretching would ruin the fit. A good rule of thumb: if the pattern piece is supposed to stay a certain length or shape despite the fabric’s stretch, consider reinforcing it. For example, the shoulder seam length should not grow, a neckline shouldn’t gape, and a hem should remain the circumference it was cut, not stretch out during sewing.
By properly stabilizing critical seams and hems, you ensure that your stretch garment holds its intended shape. The payoff is huge: necklines will lie flat, shoulder seams will sit on the shoulder, and hems will look smooth and professional. This step often separates a polished, long-lasting garment from one that looks “homemade.” Don’t skip it – use the right stabilizers (elastic, interfacing, or tape) where needed and you’ll avoid the stretched-out, “wobbly mess” that can happen with knits.
Conclusion
Sewing with stretch fabrics can seem intimidating, but once you know what pitfalls to avoid, it gets a whole lot easier. By sidestepping these top five mistakes – wrong needle, wrong thread, straight stitches, pulling fabric, and lack of stabilization – you’ll set yourself up for success. Always remember that the fabric needs special handling and tools: a ballpoint or stretch needle to prevent skips, a polyester thread that won’t snap, a stretchy stitch that moves with the material, gentle hands (no pulling!) for smooth seams, and strategic stabilizers to keep your garment in shape.
With these techniques, your next knit or spandex project will not only be easier to sew but will also look and wear better. No more popped seams or wavy hems – just comfy, professional-looking garments you can be proud of. And if you need the proper supplies, from high-quality spandex fabric by the yard to specialty stretch sewing notions, remember that specialty retailers like SpandexByYard.com carry a wide range of materials to help you get the best results. Happy sewing, and enjoy the stretch!


