Why Line a Swimsuit?
Lining a swimsuit is crucial for comfort, coverage, and durability. A proper swimsuit lining ensures the fabric isn't see-through when wet and feels soft against the skin. It adds modesty by providing an extra layer, helps the suit hold its shape, and can even offer support in key areas like the bust or tummy. Many experienced swimwear makers also find that fully lined suits tend to last longer (especially in chlorinated water) because the extra layer protects and reinforces the outer fabric. For a broader foundation on swimwear fabric selection before diving in, explore our swimwear fabric guide or browse our full fabric guides hub.
Types of Swimsuit Lining Fabrics
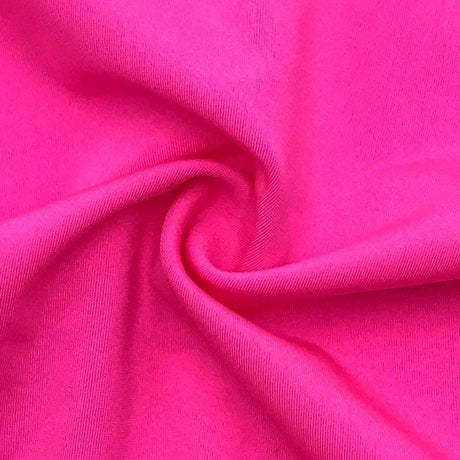
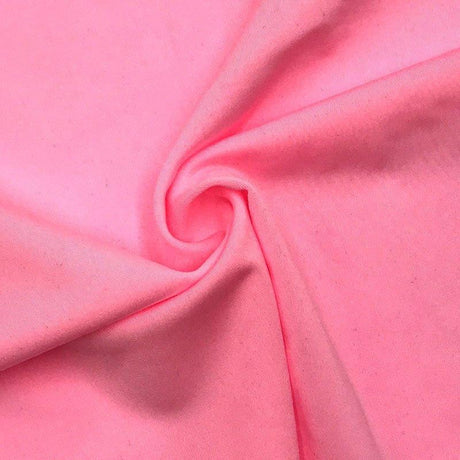
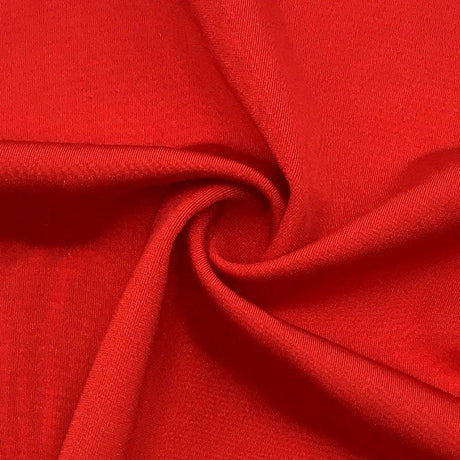
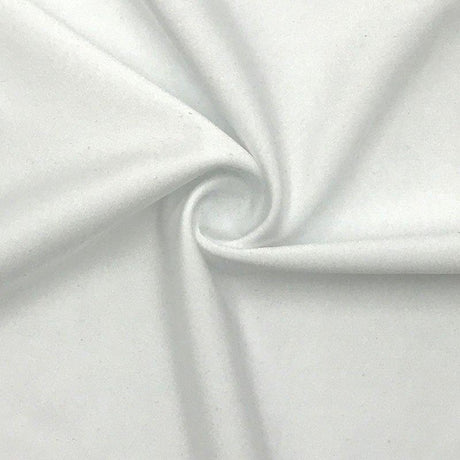
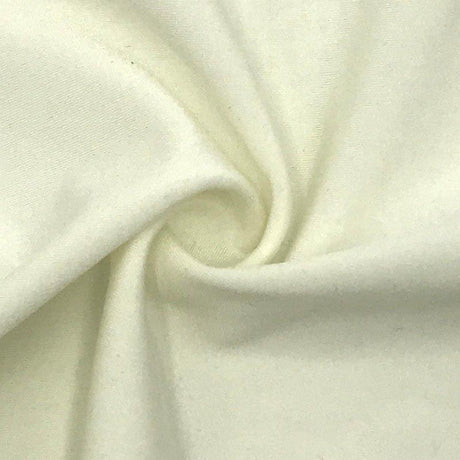
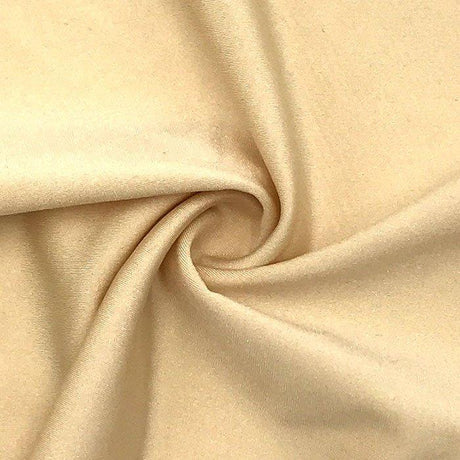
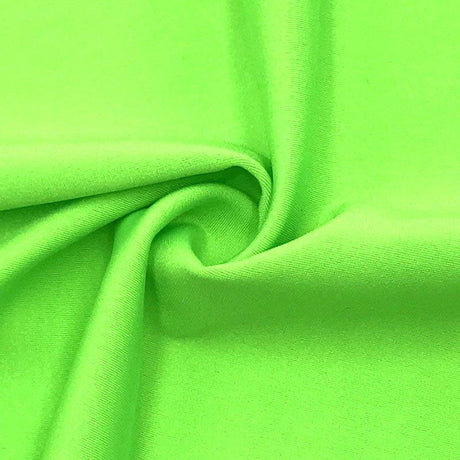
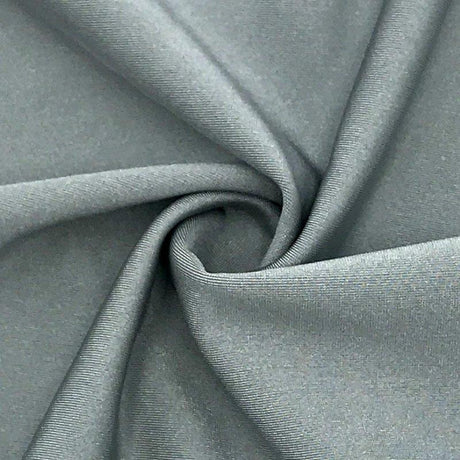
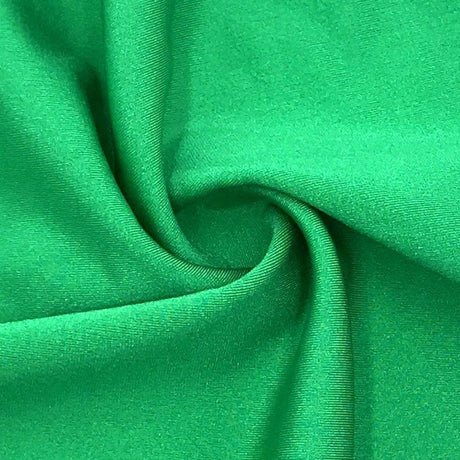
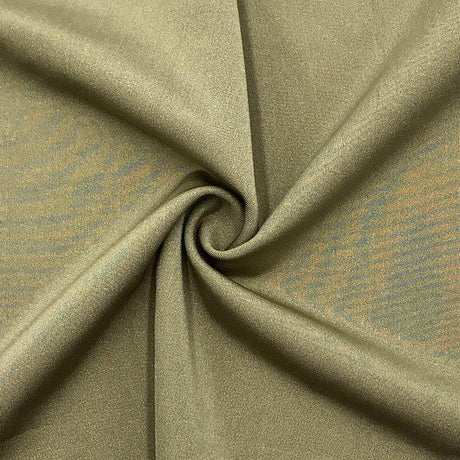
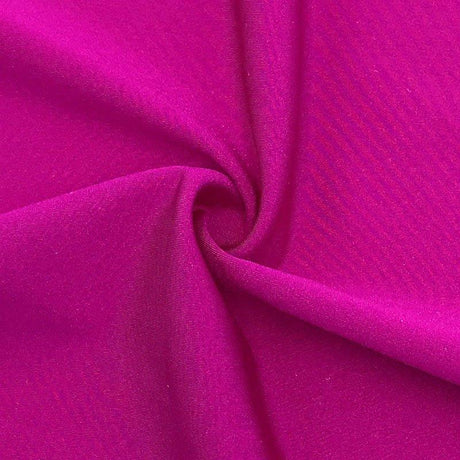
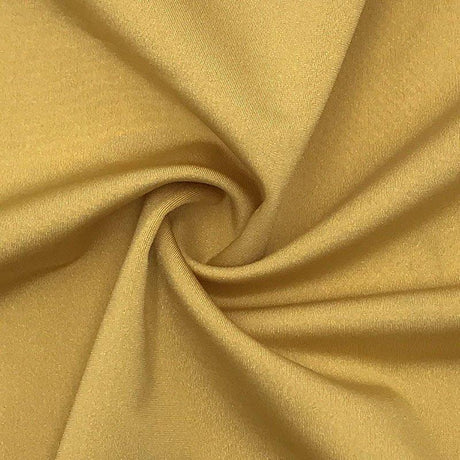
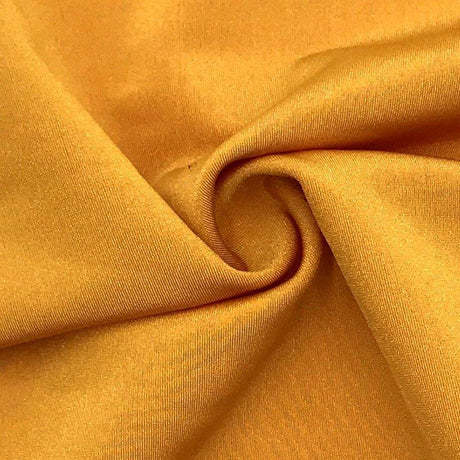
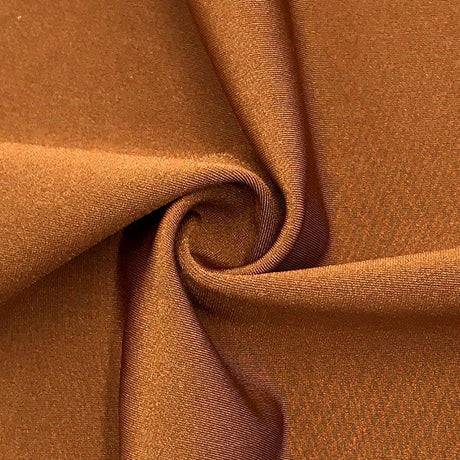
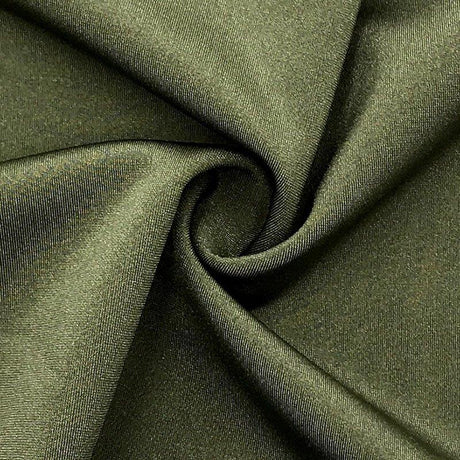
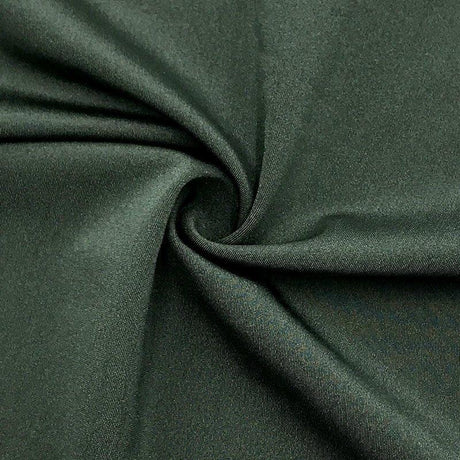
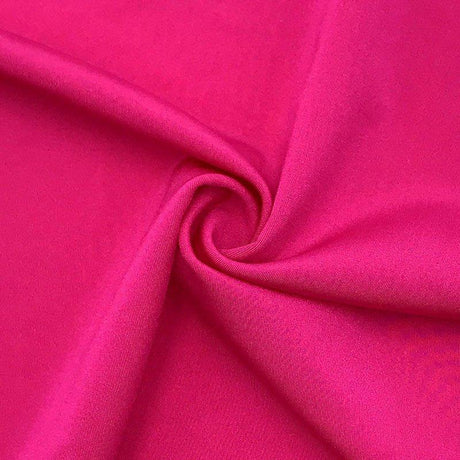
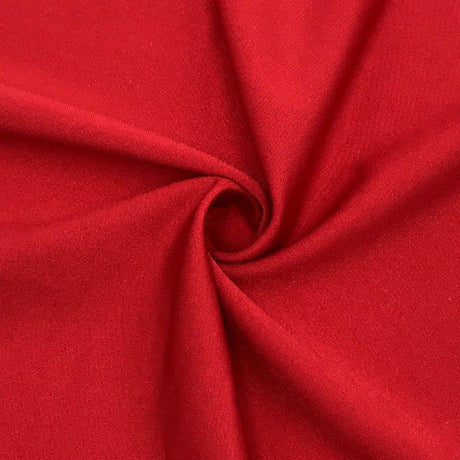
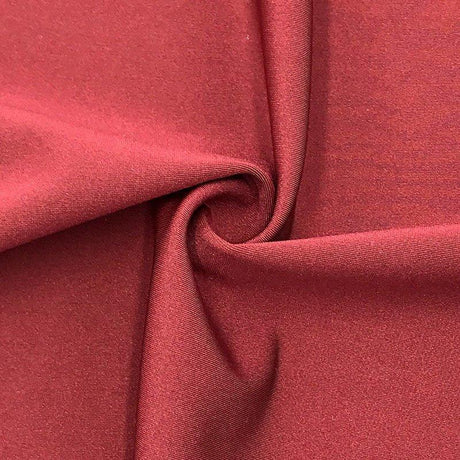
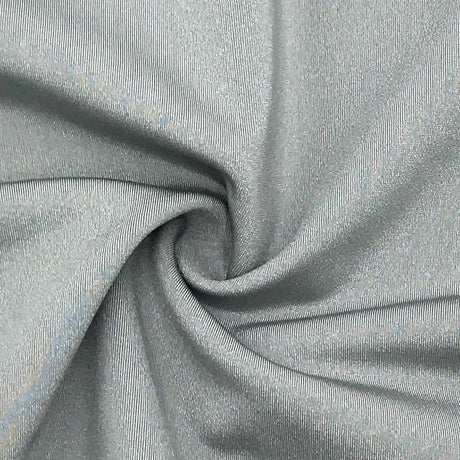
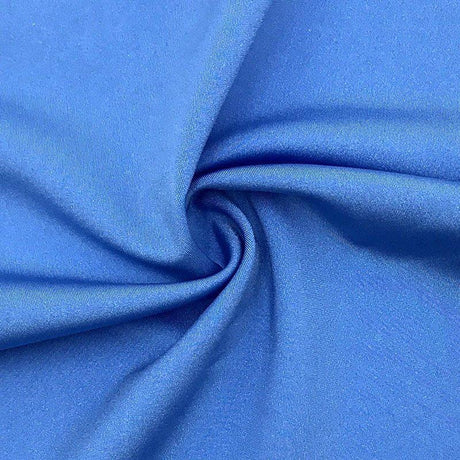
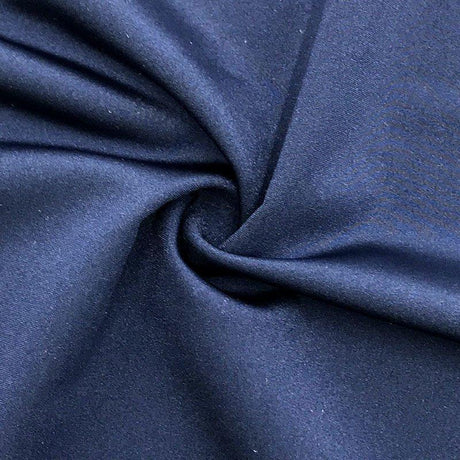
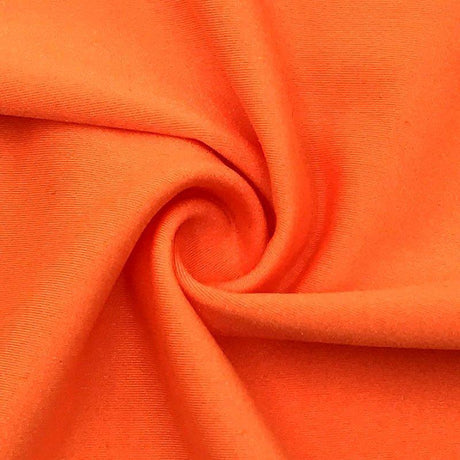
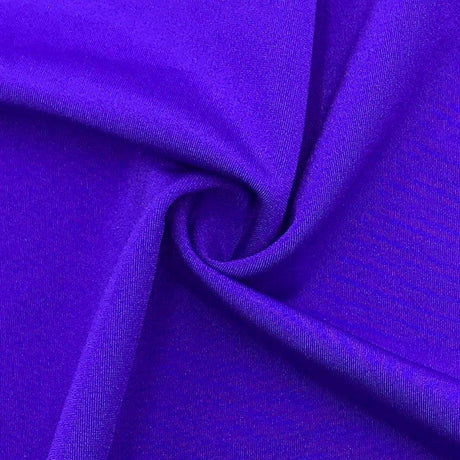
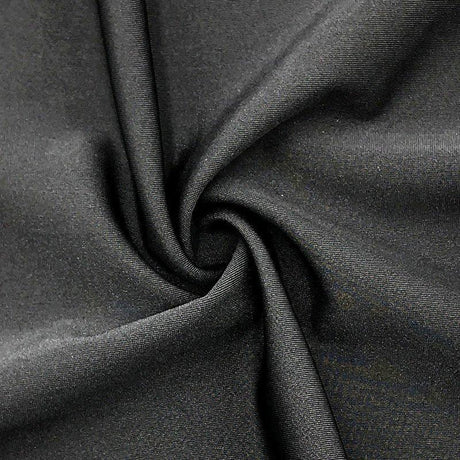
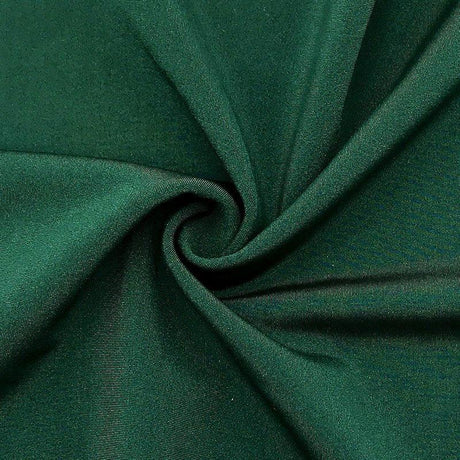
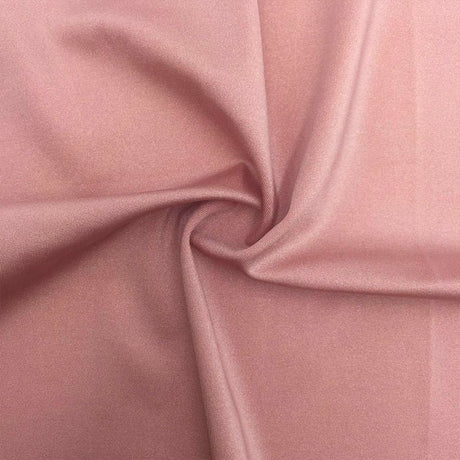
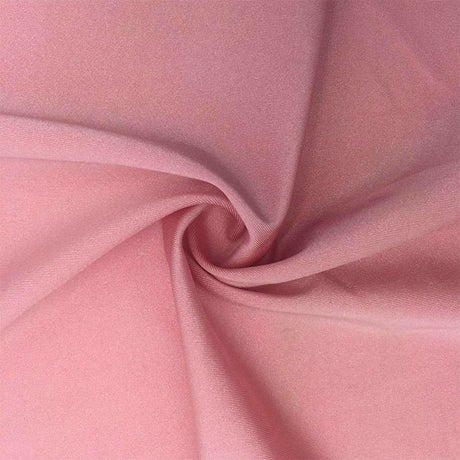
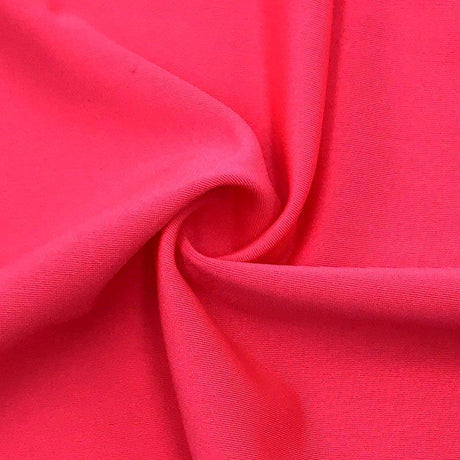
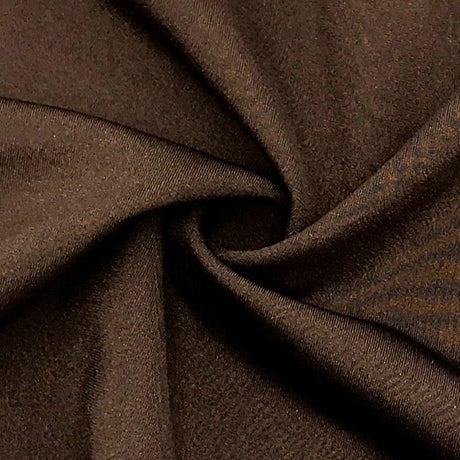
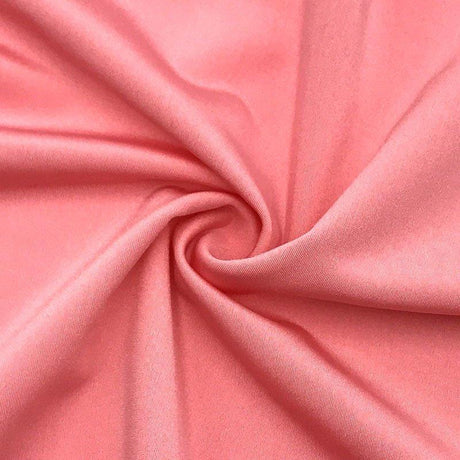
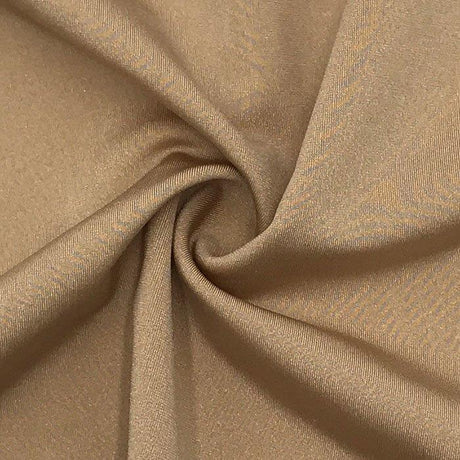
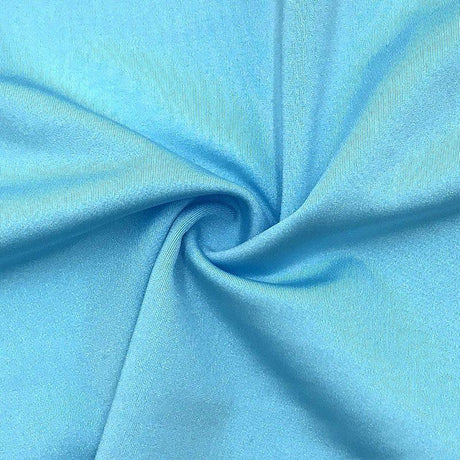
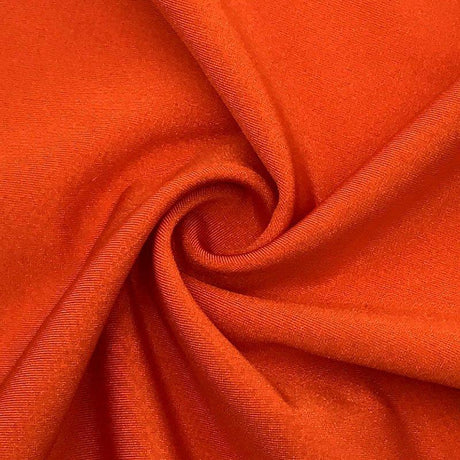
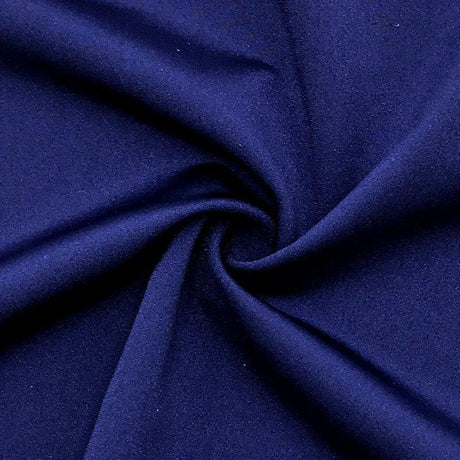
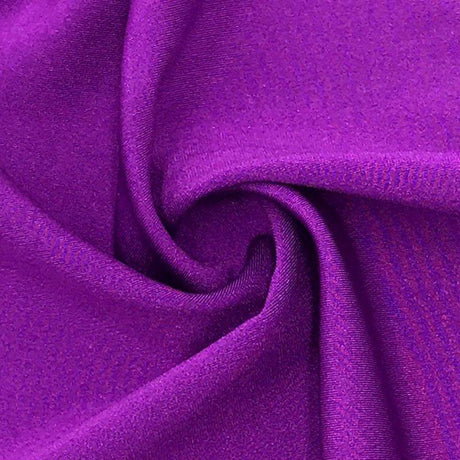
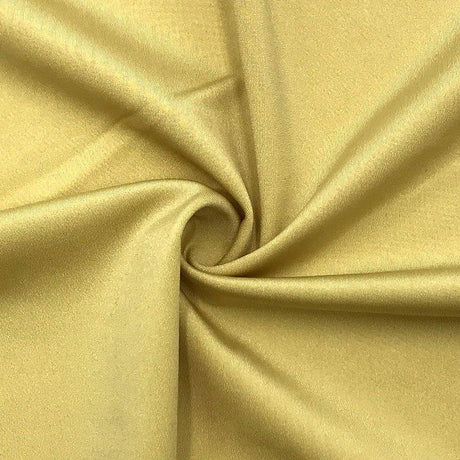
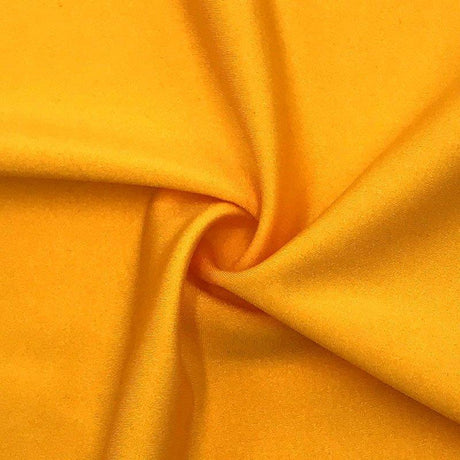
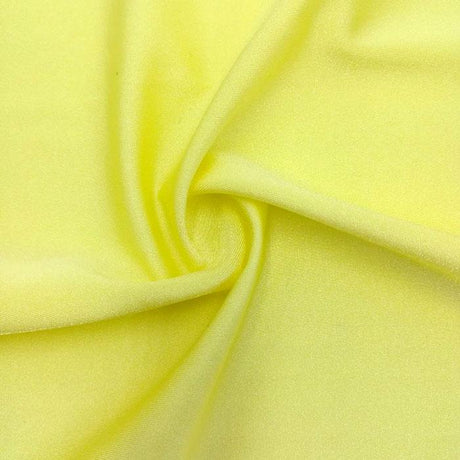
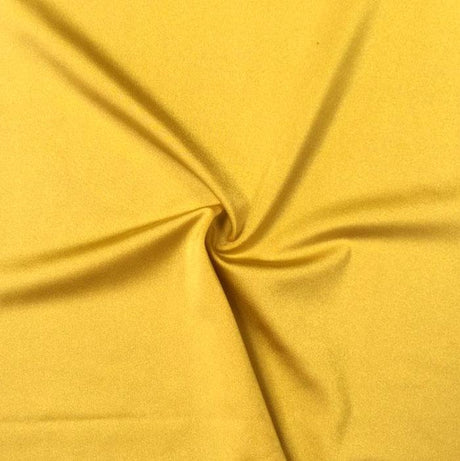
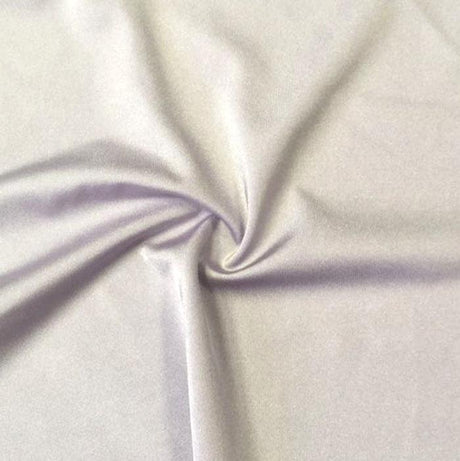
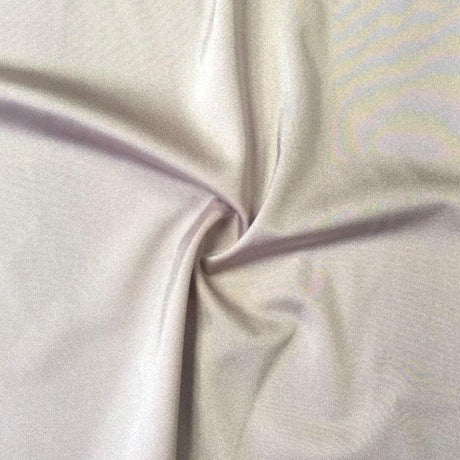
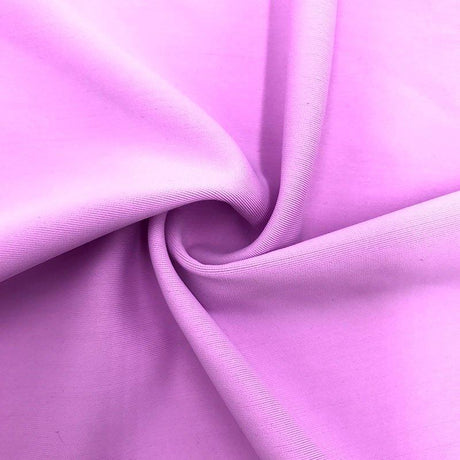
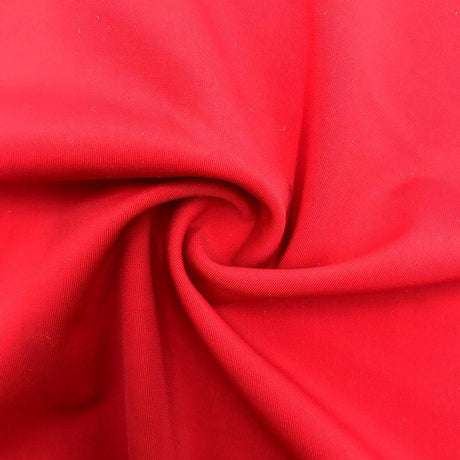
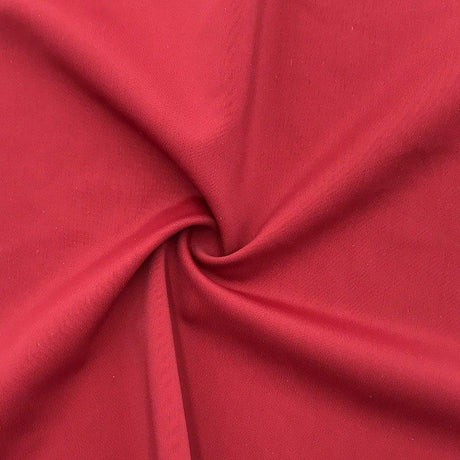
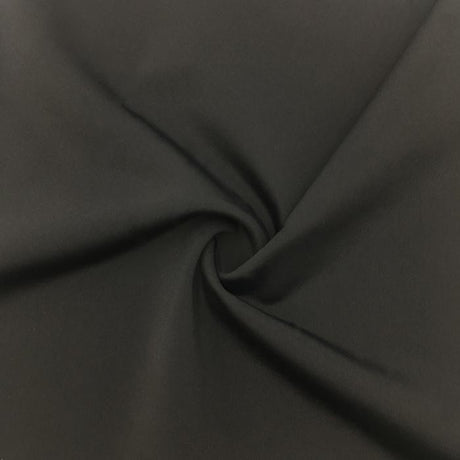
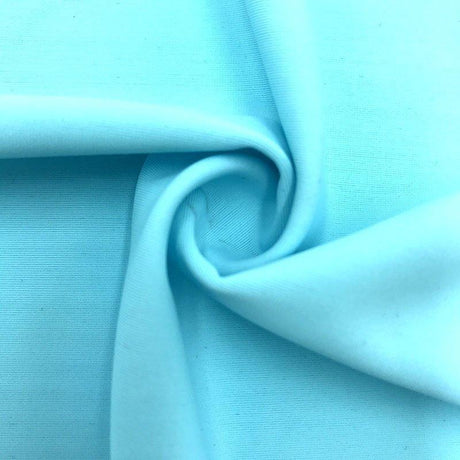
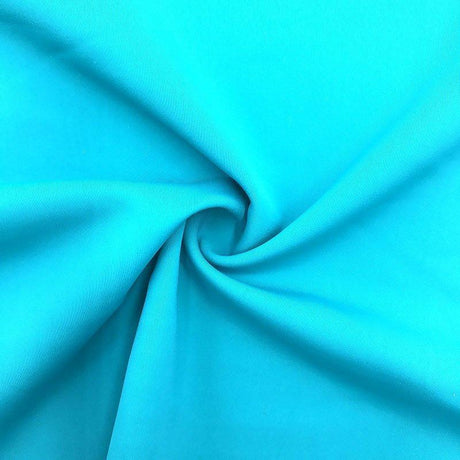
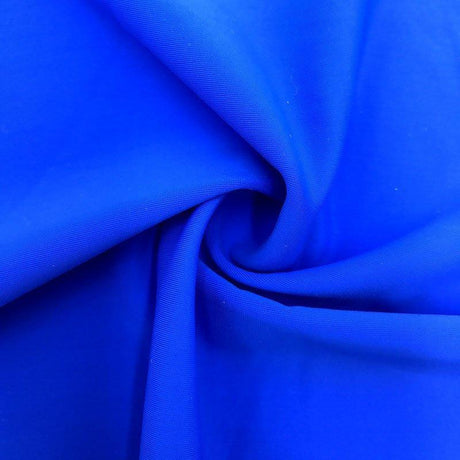
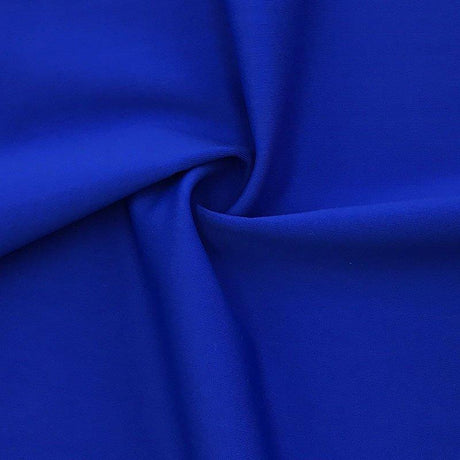
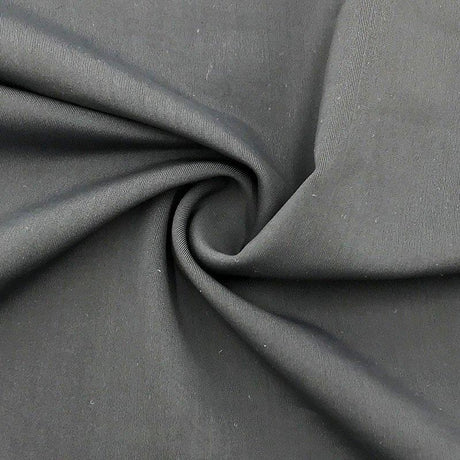
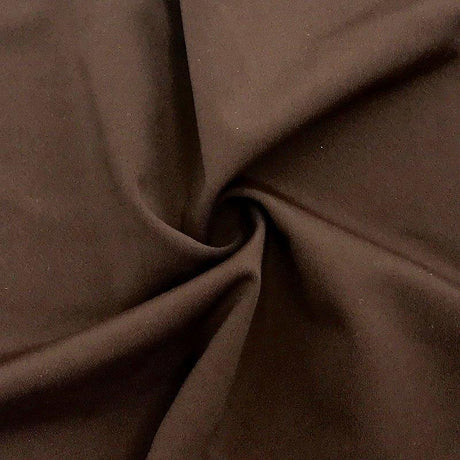
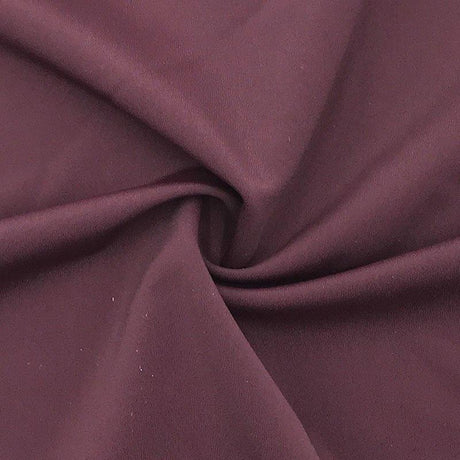
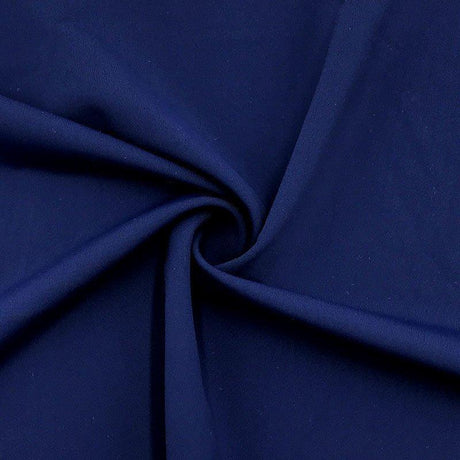
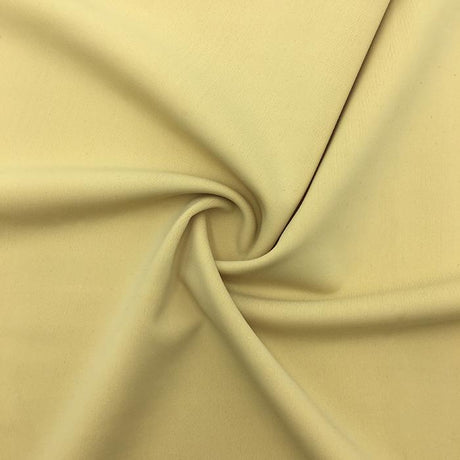
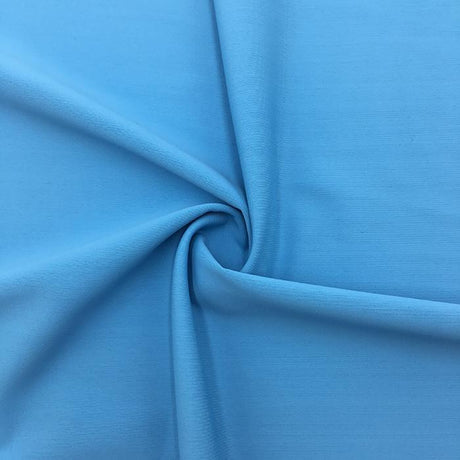
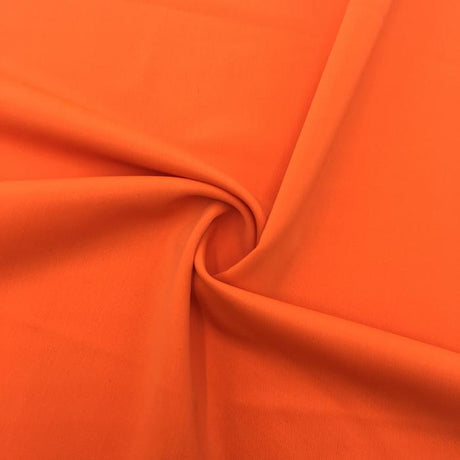
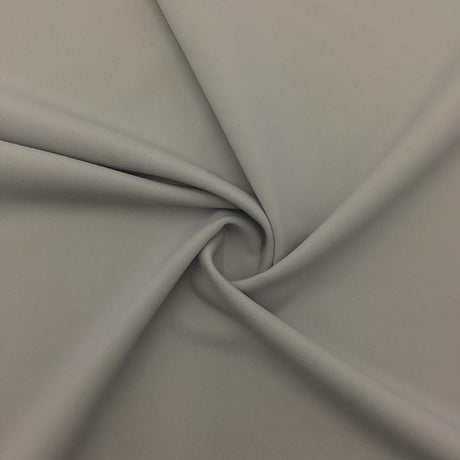
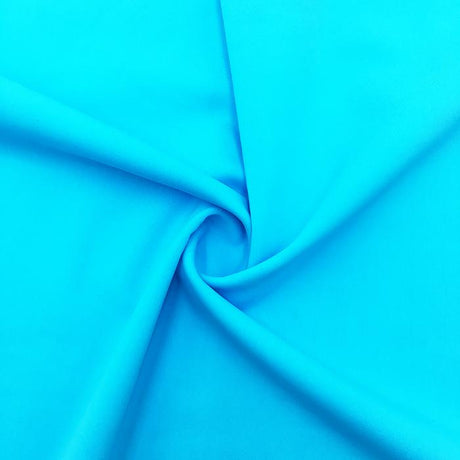
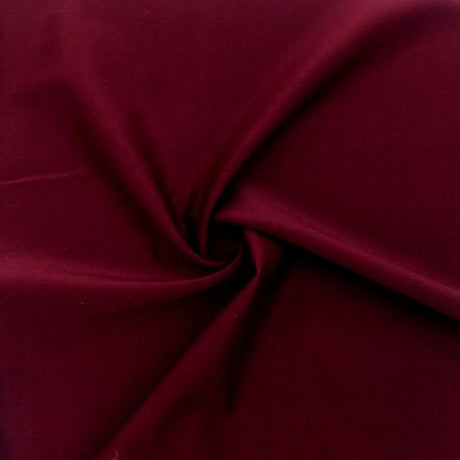
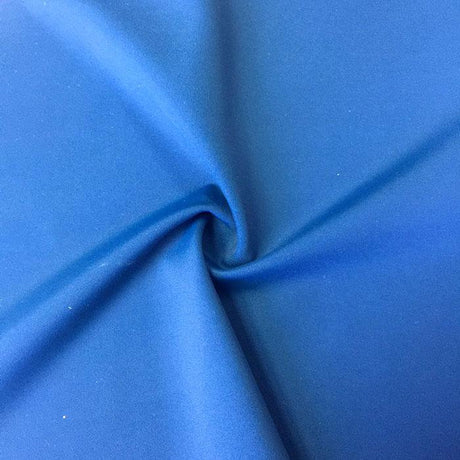
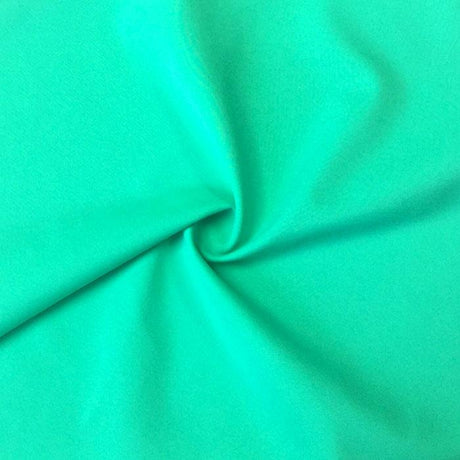
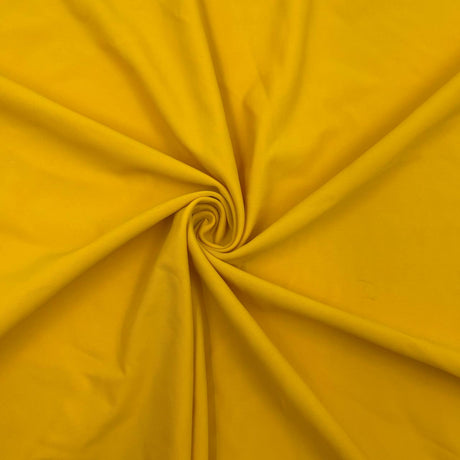
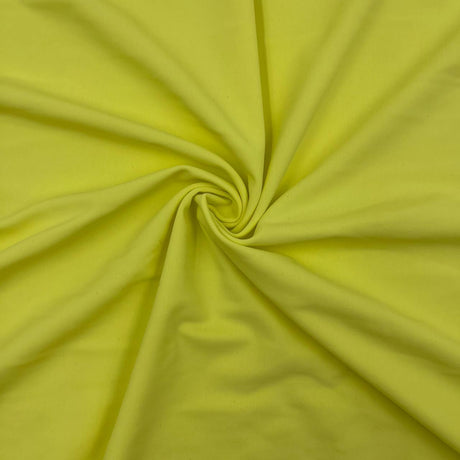
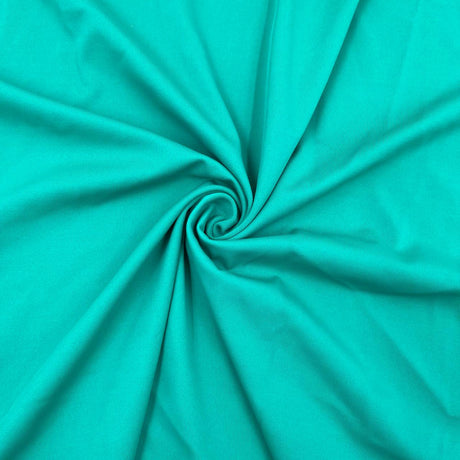
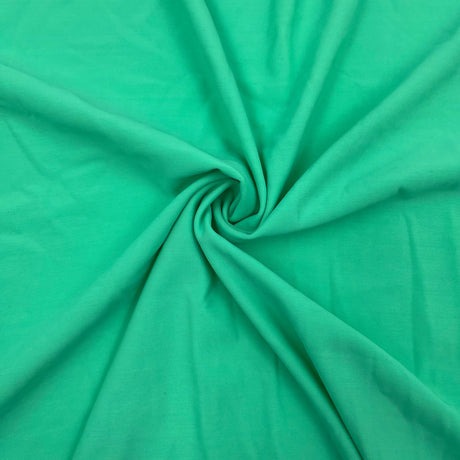
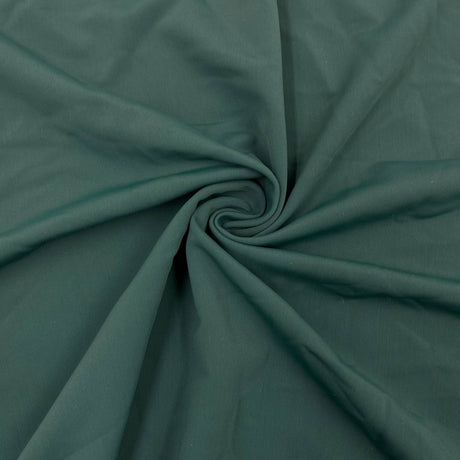
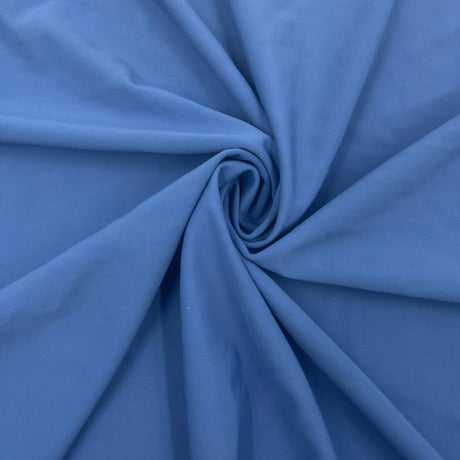
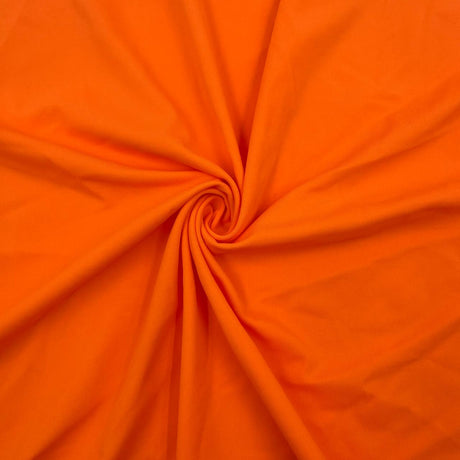
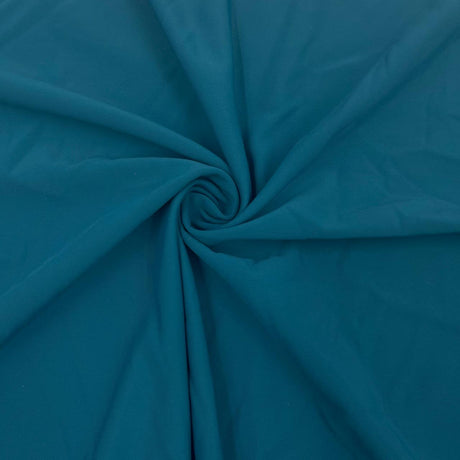
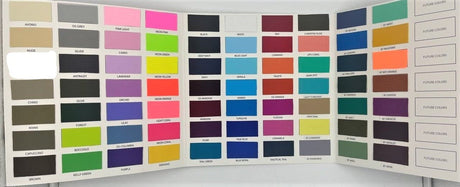
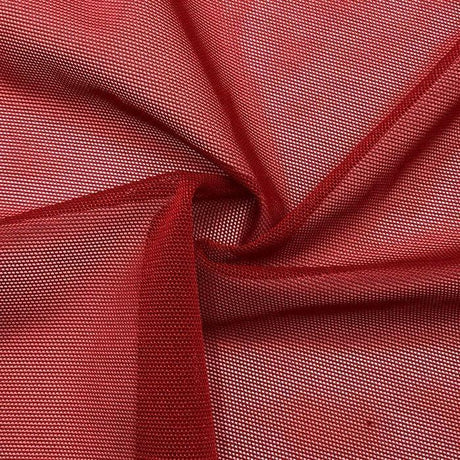
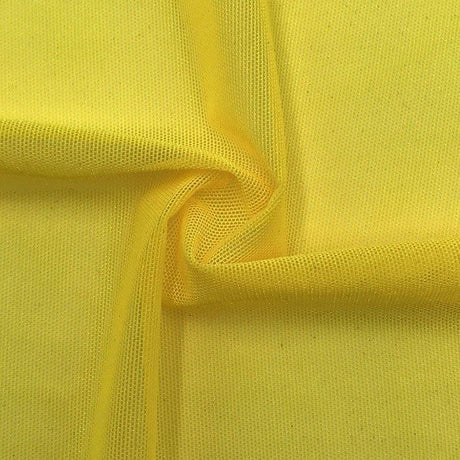
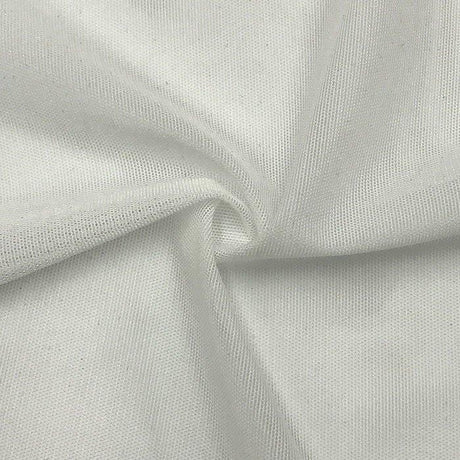
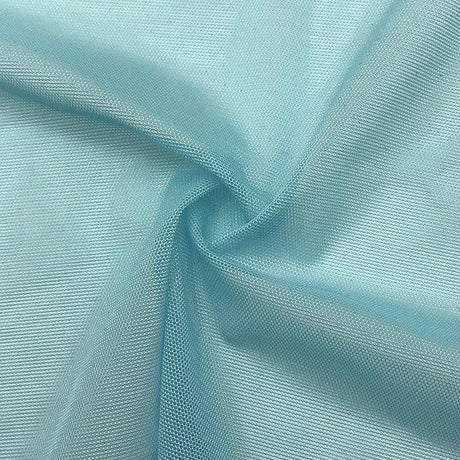
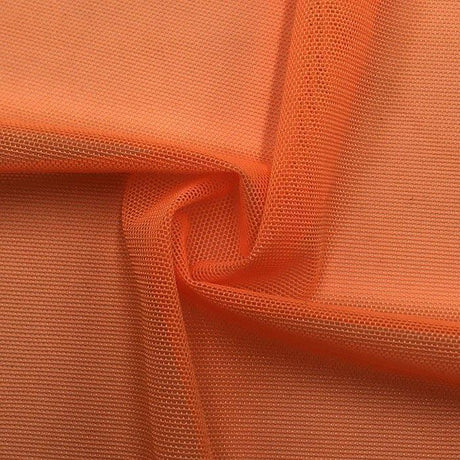
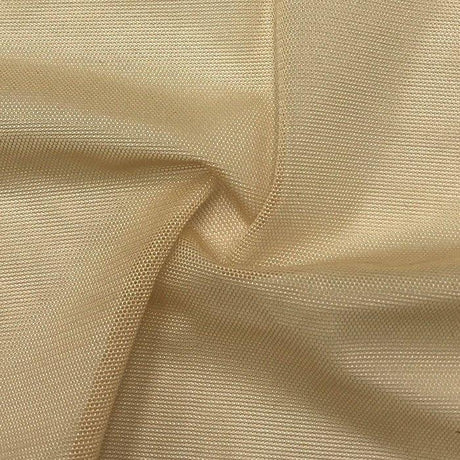
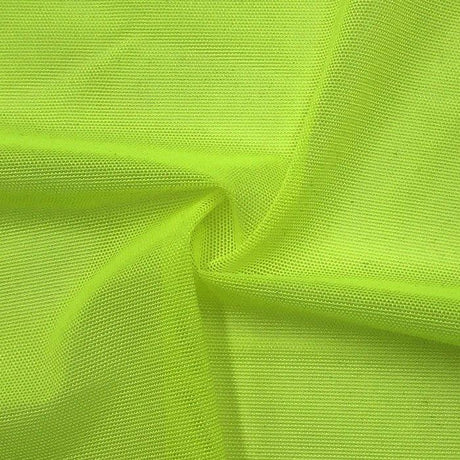
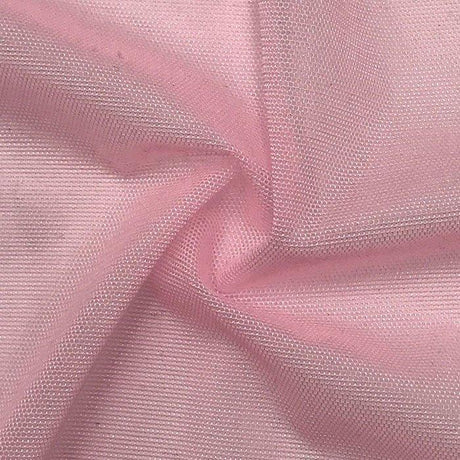
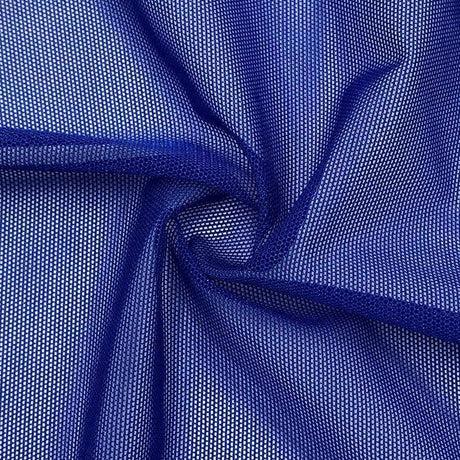
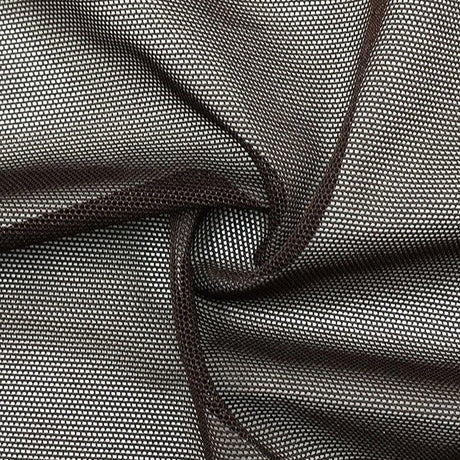
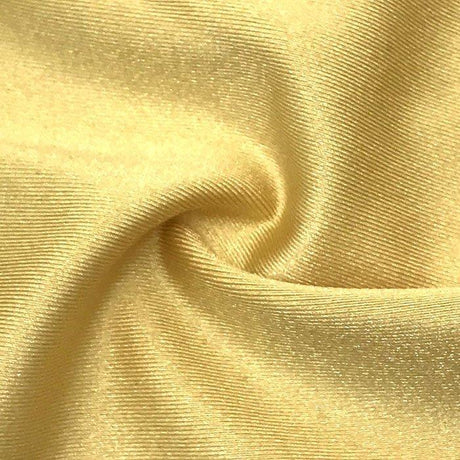
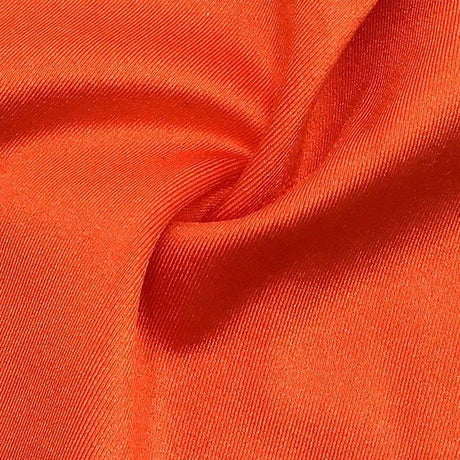
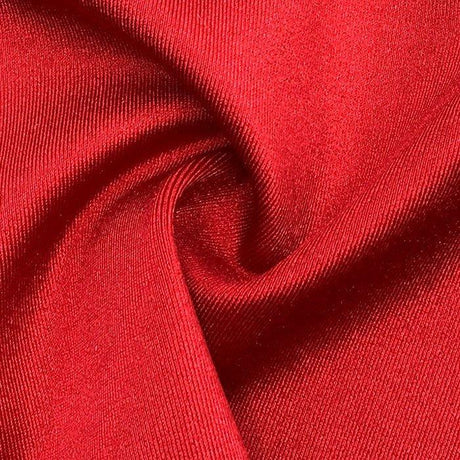
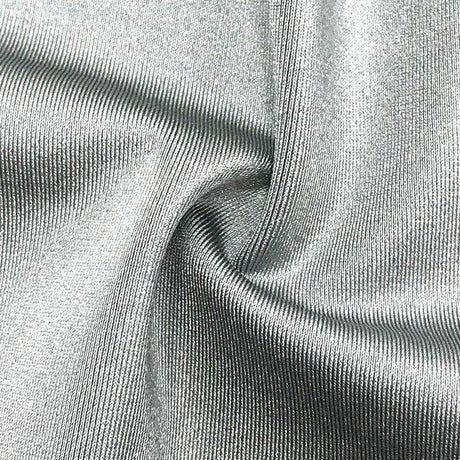
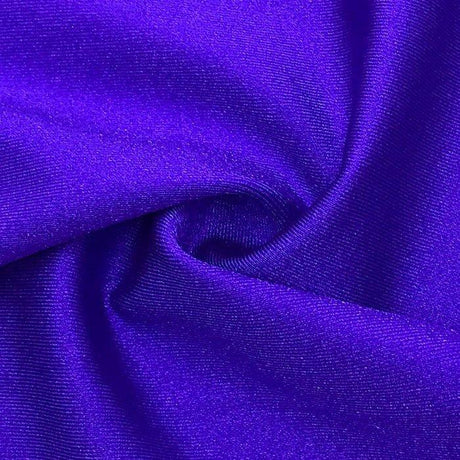
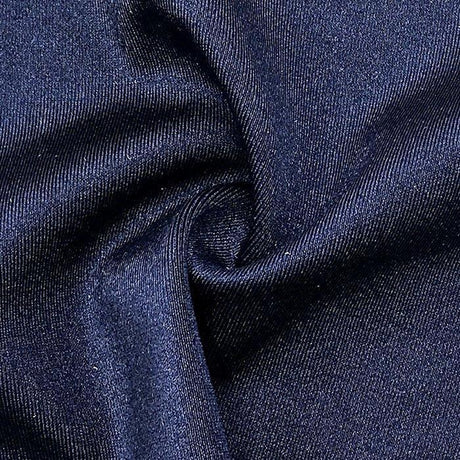
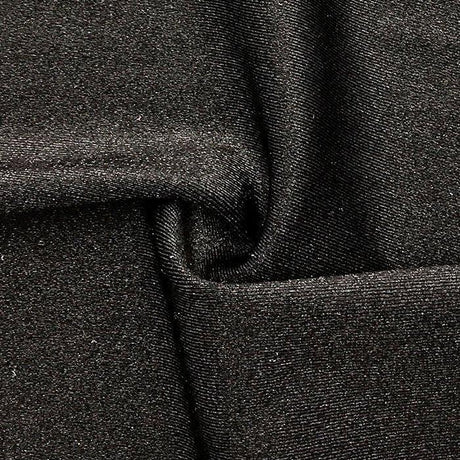
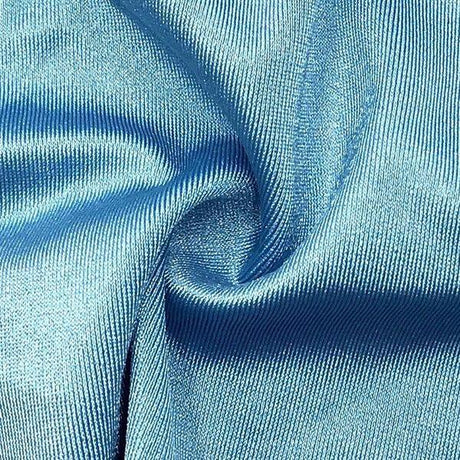
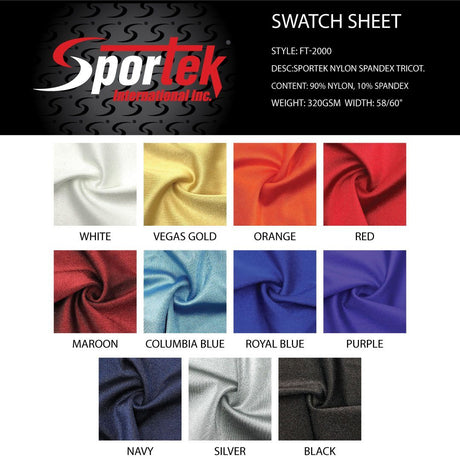
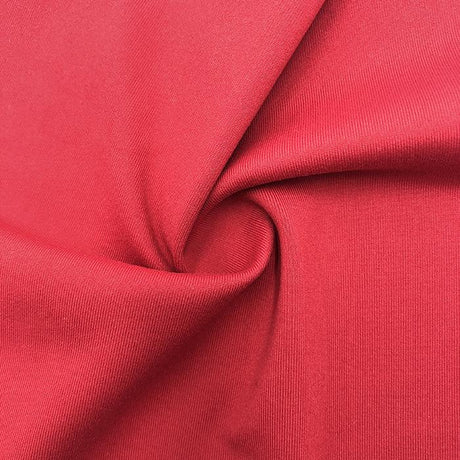
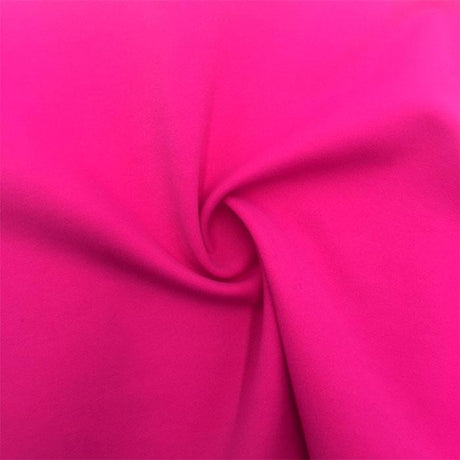
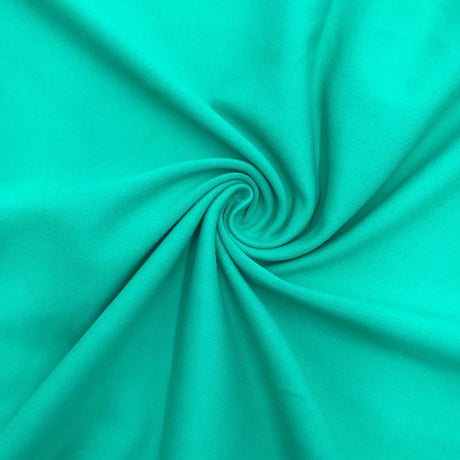
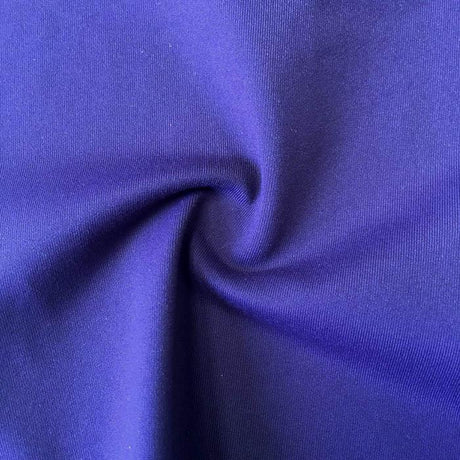
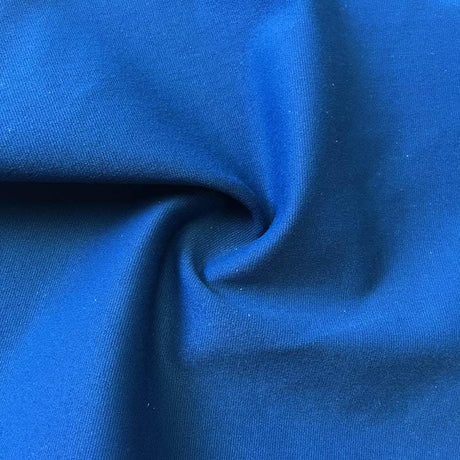
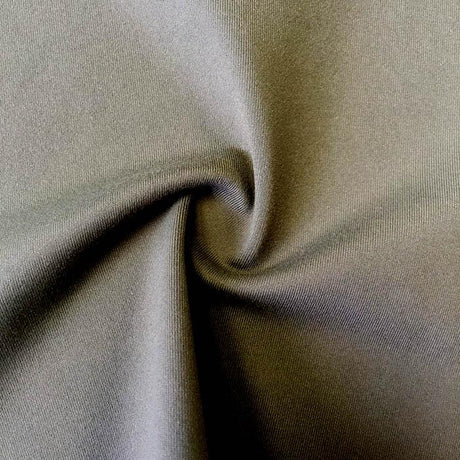
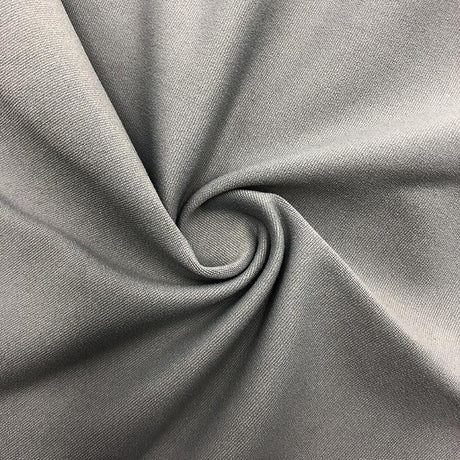
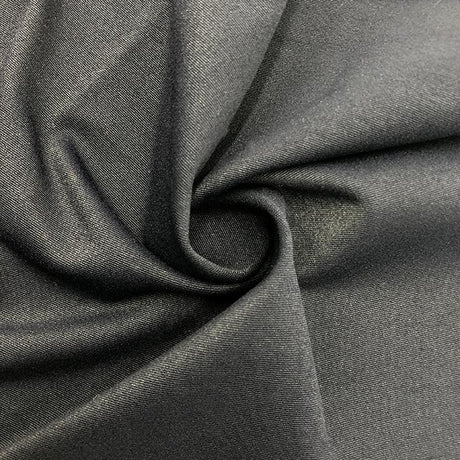
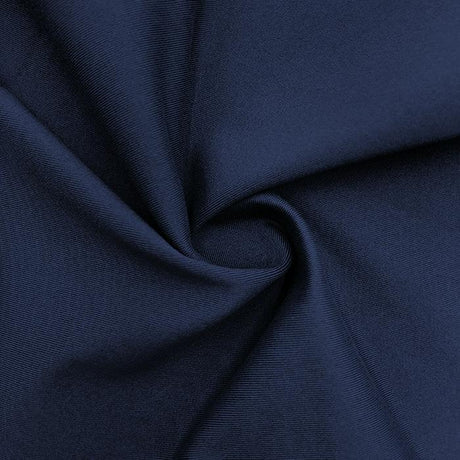
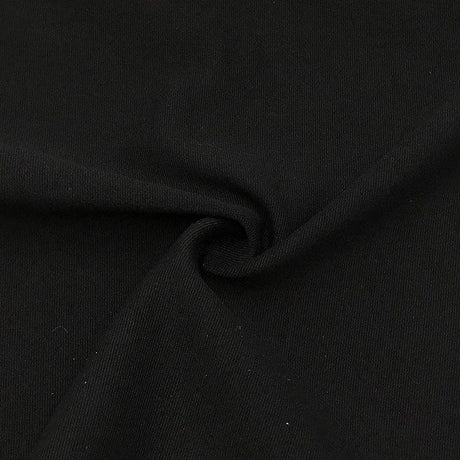
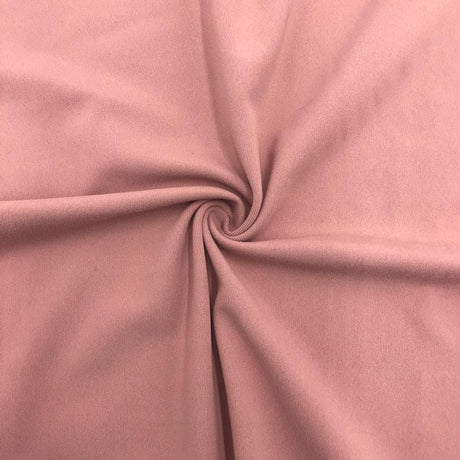
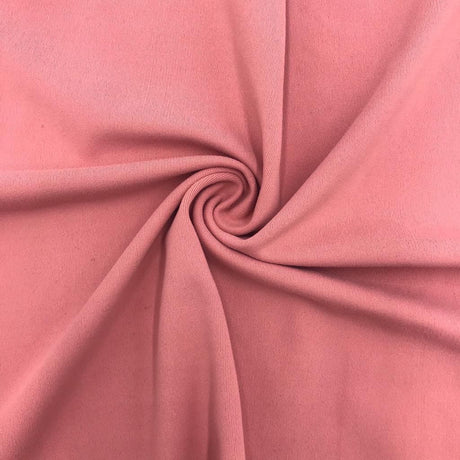
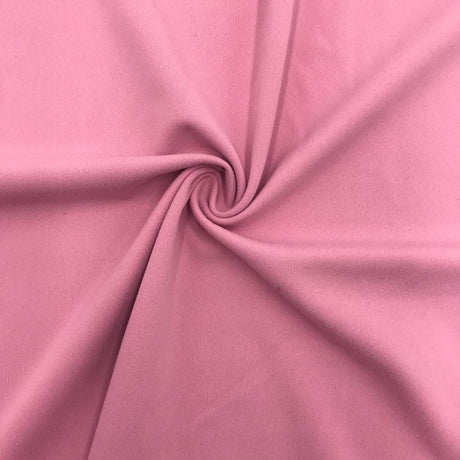
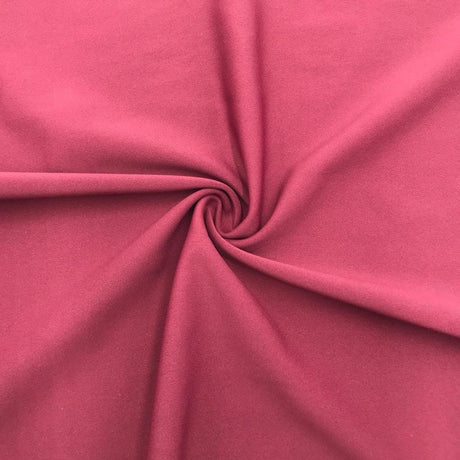
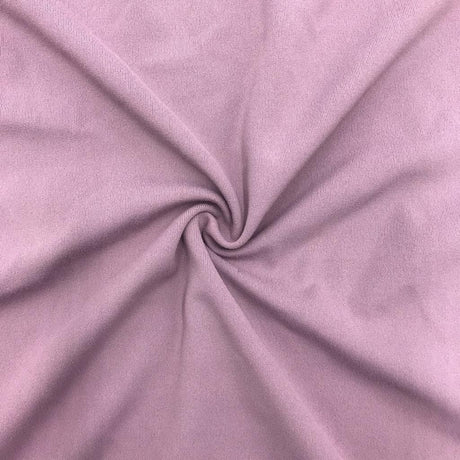
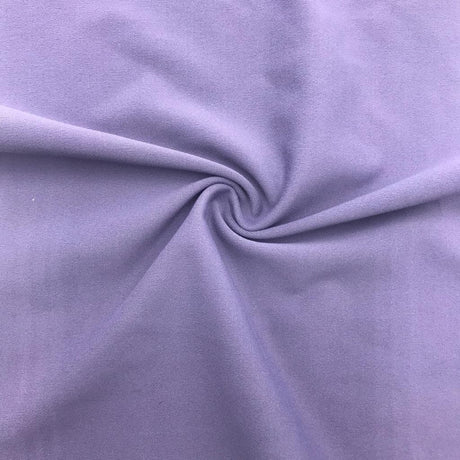
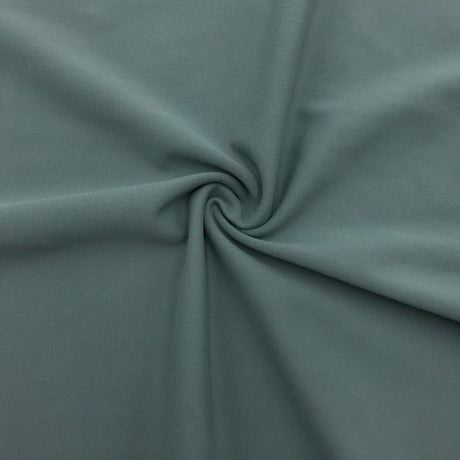
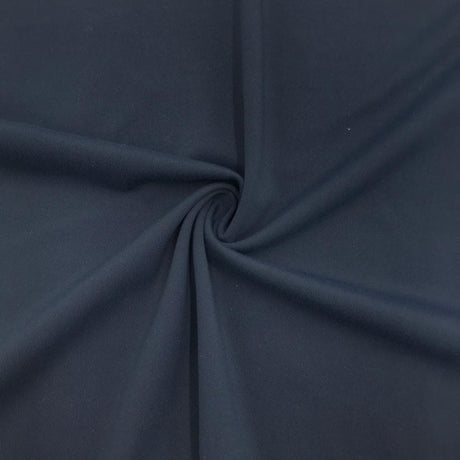
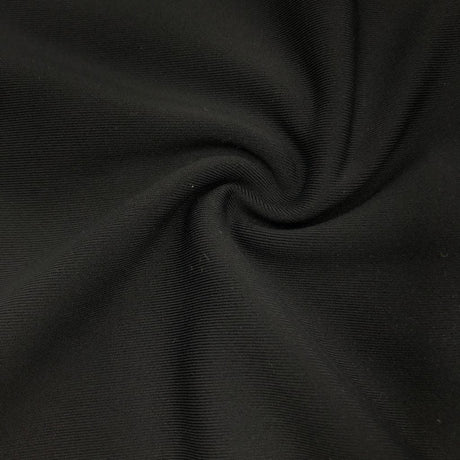
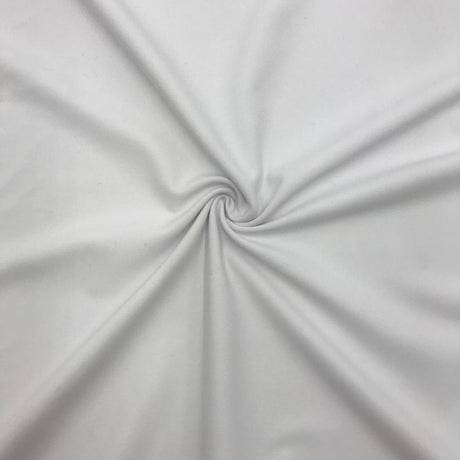
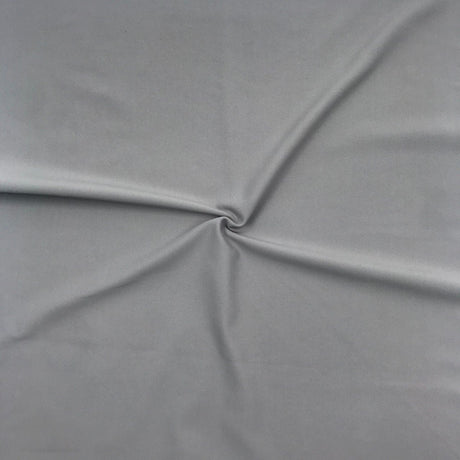
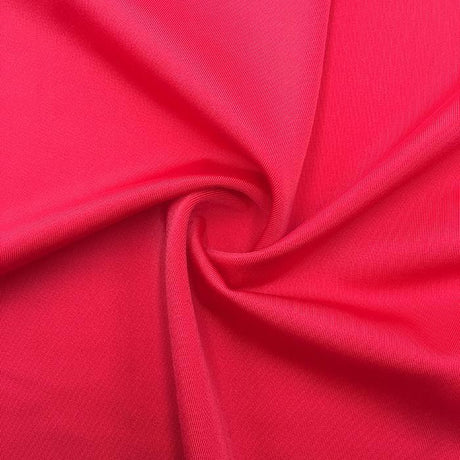
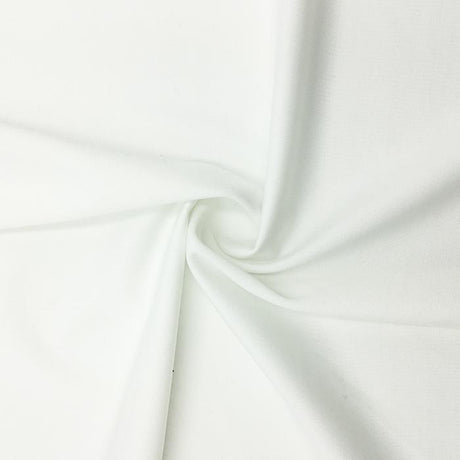
Not all linings are created equal. The three most popular swimsuit lining options are tricot swimwear lining, power mesh, and lightweight stretch mesh. Each has different properties and ideal uses. All of these are available at SpandexByYard in various colors.
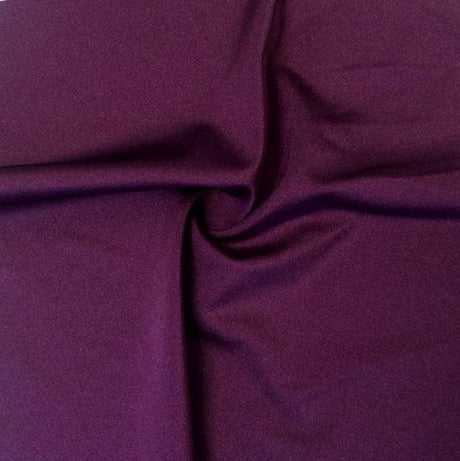
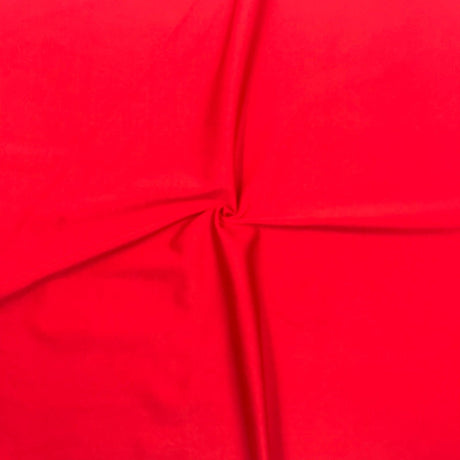
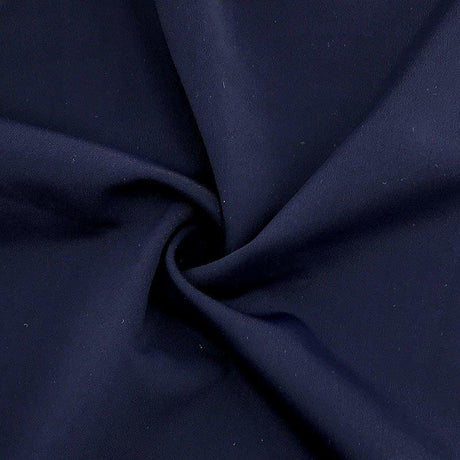
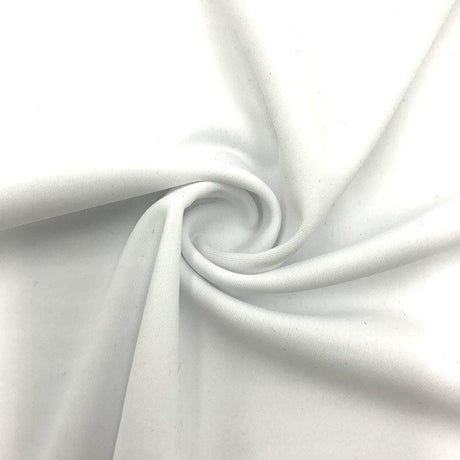
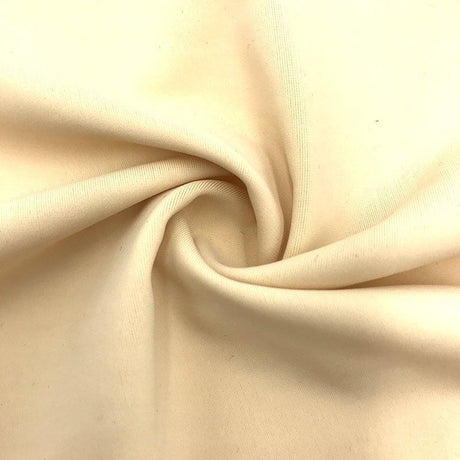
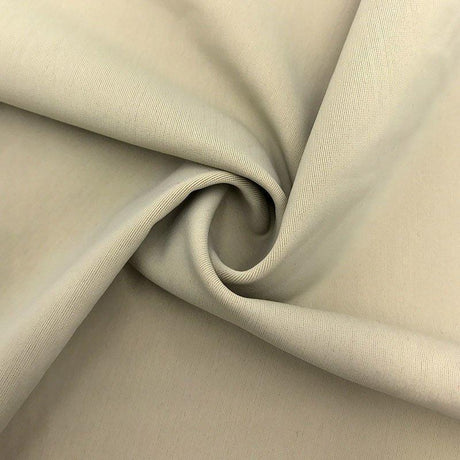
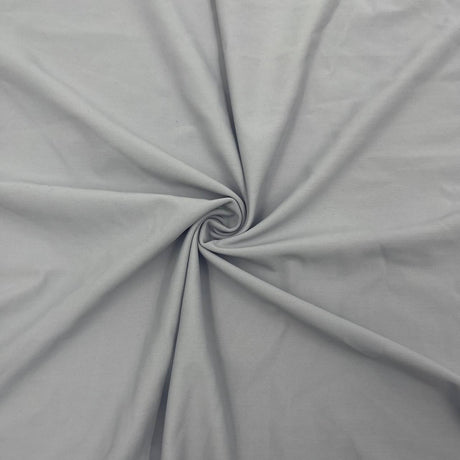
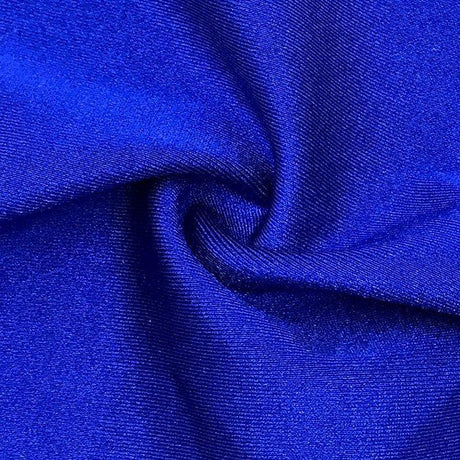
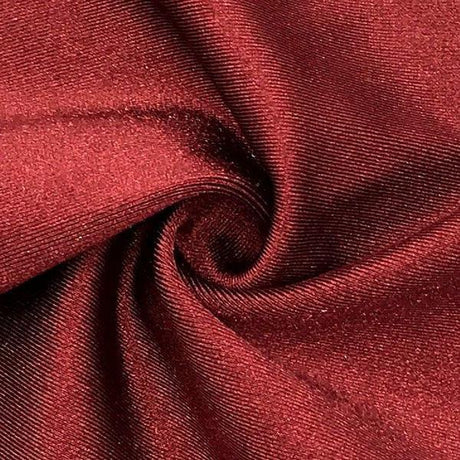
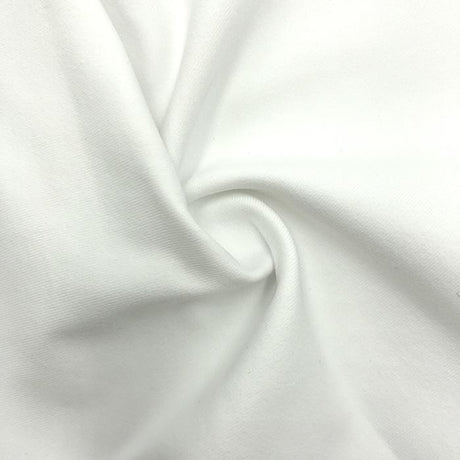
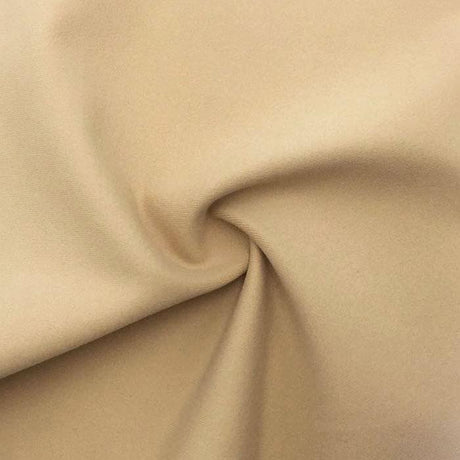
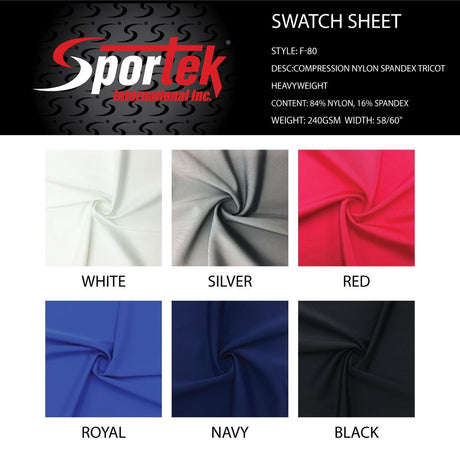
Tricot Swimwear Lining (Nylon/Spandex Tricot): This is the standard swimsuit lining fabric used in many ready-to-wear suits. It's a thin, smooth knit (often 80–100% nylon with 10–20% spandex) with 4-way stretch. Tricot lining is lightweight (around 90–120 GSM), dries quickly, and comes in neutral colors (beige, white, black) as well as fashion colors to match or contrast your outer fabric. Use tricot lining for general swimwear projects where you want a soft, breathable layer that doesn't add bulk. This type of lining is perfect for overall modesty and comfort in one-piece suits, bikini bottoms, and bikini tops. Our nylon-spandex fabric guide covers how nylon-spandex tricot constructions achieve this combination of smooth hand feel, strength, and 4-way stretch in swimwear applications.
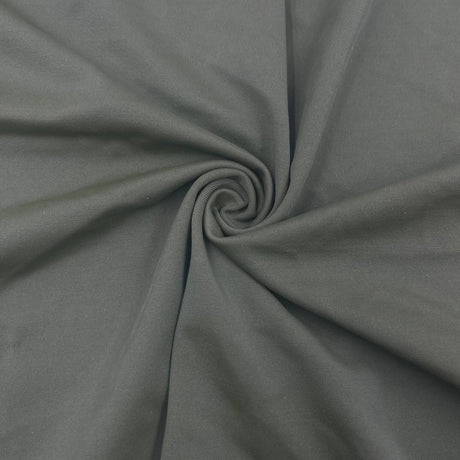
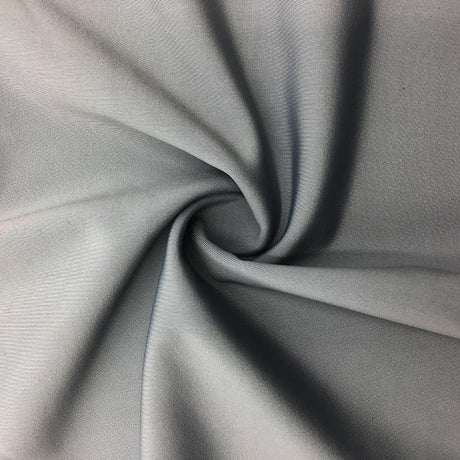
Power Mesh and Power Net: Power mesh is a stronger, slightly heavier mesh lining (typically 4-way stretch, ~130–150 GSM) used when you need extra support or control. It's a stretchy mesh fabric (often nylon/spandex) with small holes, providing moderate compression. Power mesh is great for high-waisted bikini bottoms, tummy control panels, or plus-size swimwear, where a regular lining might not provide enough hold. Power net is a similar fabric but even more robust – with a higher spandex content and weight (often 170–200 GSM) for firm compression. Power net is used for shelf bras, bust support, or shaping inner layers. Our fabric weight guide covers how GSM affects compression, opacity, and support across all common power mesh and power net constructions used in swimwear lining applications.
SpandexByYard carries power mesh in varying weights – for example, a Soft Power Mesh (85% Nylon, 15% Spandex, ~100 GSM) for gentle support, and a PowerNet Mesh (170 GSM) for high compression needs. Use power mesh/power net strategically: often in front panels, tummy control linings, or bust liners, while possibly using a lighter lining elsewhere.
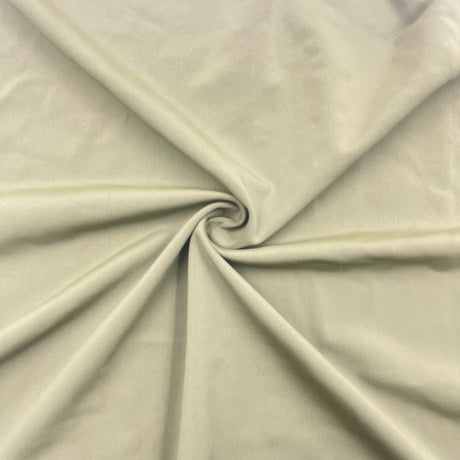
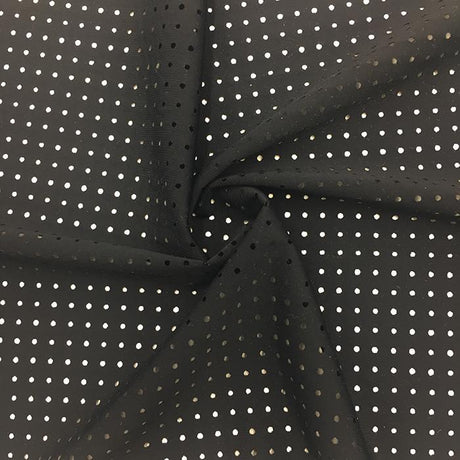
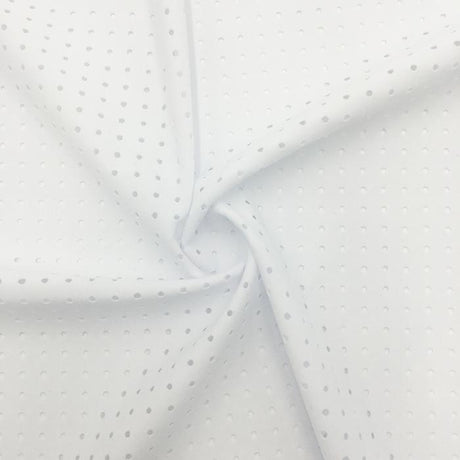
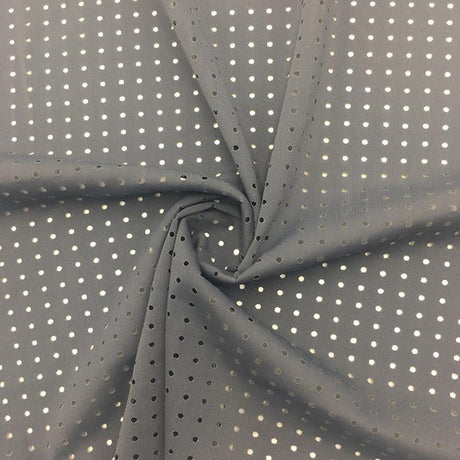
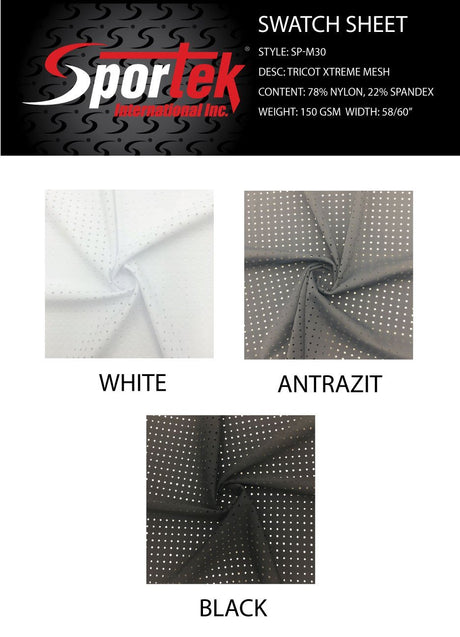
Lightweight Stretch Mesh: This category includes very light, breathable mesh linings (often ~80–100 GSM) that offer coverage with minimal weight. These meshes have greater openness for airflow and are ideal when you need just a bit of lining for modesty but want to avoid bulk. Choose a light stretch mesh when your outer fabric is already stable/opaque or when you're lining only a small section (like a front panel of a lace or crochet swimsuit that just needs backing for modesty). Light mesh is primarily for breathability and quick-drying comfort, not for shaping.
Each of these linings has a purpose. Match your lining to your project's needs: use the versatile tricot for most suits, power mesh/power net for extra support, and lightweight mesh for minimal coverage or added breathability. Always ensure whichever lining you choose has similar stretch characteristics to your main fabric (ideally 4-way stretch) so the swimsuit pieces will move together smoothly. Our stretch fabric types page covers how to verify true 4-way stretch and compare stretch percentages across different lining constructions.
Choosing the Right Lining for Your Design
Full Lining vs. Partial Lining: Decide whether your entire swimsuit needs lining or only certain parts. A full lining means cutting lining for every section of the suit. Full lining is especially recommended if your main fabric is light-colored or somewhat sheer – a full lining will ensure nothing shows through when the suit is stretched or wet. Partial lining means only lining specific areas: for instance, many bikini bottoms are only lined in the front and crotch, leaving the back unlined if the fabric is opaque and dark. Crotch lining (a small lining panel at the gusset) is the bare minimum in many patterns to provide hygiene, comfort, and opacity in that area.
Keep in mind that adding lining slightly reduces the stretch of that piece (two layers have less stretch than one). Our stretch fabric types page covers how layering affects stretch percentage and recovery, which is useful to understand when planning how much lining to incorporate.
Front-Only vs. Back Lining: The front of a swimsuit (especially for women's swimsuits) usually benefits most from lining for modesty. If the swimsuit is a light color (white, pastels) or a thin fabric, line both front and back to avoid any transparency issues. For competition swimsuits or dance leotards, full lining is essential to ensure they stay opaque under bright lights and constant motion. Our fabric weight guide covers the GSM thresholds at which swimwear fabrics maintain reliable opacity when stretched or wet.
Support and Body Type Considerations: For a small bust or children's swimsuit, a single layer of tricot lining might be plenty of support. For a larger bust, you might want to add a shelf bra or cups (which means an extra lining piece, often of power mesh or a strong lining, that acts as an internal bra). It's absolutely fine (and common) to mix lining fabrics in one suit – for instance, use normal nylon tricot lining throughout the suit but insert a power net panel just in the stomach area or bust area for extra hold. Always consider the stretch and recovery: your lining should stretch as much as your main fabric and spring back into shape, so the swimsuit doesn't bag out. Our swimwear fabric guide covers how different companion fiber types and spandex percentages affect the stretch and recovery properties of swimwear lining fabrics.
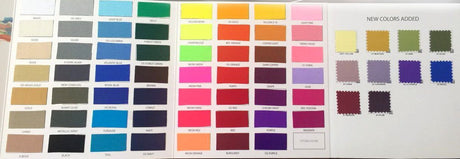
When to Use Each Lining Fabric: Use the standard swimwear lining (tricot) for most applications. Use power mesh/power net for structured support. Use lightweight stretch mesh for secondary lining needs. And don't forget to pick a lining color that makes sense: nude or skin-toned linings are popular because they don't show through even if the outer fabric is slightly translucent.
In all cases, ensure your lining fabric is swimwear-appropriate (chlorine-safe, stretches, and won't bleed dye). Using a random non-swim lining (like a cotton or non-stretch poly) is a common mistake – it can absorb water, restrict stretch, or degrade quickly.
Prepping the Lining and Main Fabric
Before you start sewing, take time to properly prepare both your lining and main fabric.
Pre-Wash (or Pre-Rinse) Your Fabrics: It's often recommended to pre-wash swimwear fabric and lining, especially if they are vibrant colors. A quick soak in cool water can also reveal if a color bleeds. Use cold water and gentle detergent; avoid fabric softeners (they can coat the fabric and reduce elasticity). Do not put swim fabrics in a hot dryer – just hang or lay flat to dry after pre-washing, to avoid heat damage to the spandex. Our spandex care guide covers exactly why heat is so damaging to elastane fibers and what temperature thresholds to avoid.
Identify the Stretch Direction and Grain: For both your main fabric and lining, find which direction stretches the most. Typically, you'll want the greatest stretch going horizontally around the body (circumference). Align the grainline markings on your pattern with the direction of greatest stretch for both the outer and lining pieces. Make sure the lining and main fabric have similar stretch percentage. Our stretch fabric types page covers how to measure and compare stretch percentages across different fabric constructions – essential when matching your lining to your main fabric.
Cutting Techniques for Stretch Materials:
- Use a rotary cutter with a sharp blade and a cutting mat if possible.
- If using scissors, cut in a single layer to ensure precision.
- Layering trick: You can lay the lining fabric underneath the main fabric and cut both at once, so they are exactly the same. Alternatively, cut your main fabric first, then use those pieces as a template to cut the lining.
- No tension while cutting: Don't stretch the fabric as you cut, or your pieces will turn out smaller once they relax. It helps to cut on a flat surface and even to place tissue paper underneath to stabilize the knit.
- Cut lining slightly smaller? (Optional, advanced): Some sewists cut the lining pieces about 1/8″ to 1/4″ smaller around the edges than the main fabric so the lining hugs the inside and doesn't bag.
Organize pieces & note the sides: Keep track of which pieces are lining vs. main. Mark the lining with a small sticker or chalk "L" to avoid confusion. Be consistent about stretch direction uniformly throughout.
Use Quality Elastic and Notions: Always use swimwear elastic (usually rubber or a chlorine-resistant elastic) for sewing in the edges. Regular polyester elastic will degrade quickly in chlorine and saltwater. Also have stretch needles (ballpoint or stretch 75/11 size) ready for your machine to prevent skipped stitches in the spandex. Our how to sew stretch fabric guide covers complete needle selection, thread choice, and stitch setting guidance for all common swimwear and stretch fabric construction scenarios.
Step-by-Step Construction (How to Line a Swimsuit)
1. Align Lining with Main Fabric Pieces: Lay out each main fabric piece with its corresponding lining piece. Make sure the stretch direction matches on both layers. Pin the lining to the backside of the main fabric, wrong side of main to wrong side of lining. Smooth out any wrinkles and ensure the pieces are exactly aligned at the edges.
2. Baste or Serge the Layers Together: Baste the lining to the main fabric around the edges using a long zig-zag stitch or a long straight stitch within the seam allowance (e.g., 1/4″ from the edge) to hold the two layers together. This turns the two layers into one combined piece for assembly. Basting the layers prevents shifting and puckering when you sew seams or apply elastic later. If your pattern has a separate crotch lining piece, baste that onto the wrong side of the front or back as instructed. After basting, treat the main+lining as one layer for the remaining construction steps.
3. "Sandwich Method" for Clean Seams (Optional): Instead of basting layers together from the start, another technique is the sandwich (or burrito) method to hide certain seams between lining and main fabric. You would sew the front and back crotch seam twice – once for the main fabric and once for the lining – then sandwich the main fabric seam inside the lining seam by flipping one through the other. The benefit is completely hidden seams (no seam allowance against the body). For many, a simpler approach (step 2) is more reliable; you can mix methods by using the sandwich technique just at the crotch for a really clean finish there, but basting the layers elsewhere.
4. Assemble the Swimsuit Seams: Sew your swimsuit together as per the pattern instructions, now that each piece is lined. If you basted the lining to main, just sew as usual. Use either a serger or a stretch stitch (zigzag or lightning stitch) on a regular machine for these seams. After each seam, check that the lining layer lies smoothly with no wrinkles caught. Our how to sew stretch fabric guide covers seam type selection, serger settings, and stretch stitch guidance for all common swimwear construction scenarios.
5. Attach Elastic to Openings: The final structural step is adding elastic to the raw edges (leg openings, armholes, neckline, waist). Most commonly, you will attach elastic with the lining and main as one. Divide both the elastic and the opening into quarters and match the quarter points to ensure you distribute any stretch evenly.
Elastic through Both Layers (Standard Method): Pin your swimwear elastic around the opening on the wrong side of the lining. Start sewing the elastic to the edge using a zigzag stitch, stretching the elastic gently between pins to fit the fabric, but being careful not to stretch the fabric itself. Sew all the way around. Then flip the elastic to the inside and topstitch on the right side of the fabric with a zigzag or twin needle, catching the elastic on the inside. This results in a clean look on the outside and a plush elastic edge on the inside.
Elastic to Lining Only (Clean Finish Method): With lining and main right sides together, align the elastic along the edge on top of the lining. Sew a zigzag or serger seam that attaches all three layers at once (main, lining, elastic). Then flip the lining to the inside, which rolls the elastic inside as well, leaving a clean edge with no visible stitching on the outside. You can understitch the seam allowance to the lining to keep it from rolling. This is an advanced finish that yields no visible stitching on the outside.
For most home sewists, attaching elastic by sewing through both layers and then turning is the reliable method. Always remember to stretch the elastic evenly and use the right amount of elastic as per your pattern.
Finishing Techniques: Professional Touches
Topstitching and Understitching: Topstitching is often the last step after turning elastic. Using a medium-width zigzag stitch (or a twin needle stretch stitch), sew around each opening on the right side, about 1/8″ to 1/4″ from the edge. A zigzag is ideal because it will still stretch with the fabric. If you prefer, you can also use a coverstitch machine for an even more professional finish. Understitch wherever possible (like along a shelf bra seam or a top edge) – it really prevents the lining from peeking out. Our how to sew stretch fabric guide covers understitching and topstitching techniques for all common swimwear edge finishing scenarios.
Using the Lining to Clean-Finish Edges: In some bikini tops, you might sew the lining and main right sides together along the top edge, then flip the lining inside and secure the bottom edge when attaching the band – leaving the top edge clean with no visible stitching outside. These methods often require leaving one seam open to turn through (like a side seam) and then closing it last.
Adding Cups or a Shelf Bra: For extra bust support, you can incorporate bra cups or a shelf bra into the lining. A shelf bra is usually an inner layer of power mesh or strong lining with an elastic sewn on the bottom (underbust). Cut a piece of power mesh for the front, shorter than the outer front, and sew elastic to its bottom edge. This mesh piece is then basted to the main front piece at the top and side edges, effectively acting as a lining just for the bust area. Foam bra cups are best added by sewing them onto the lining before the lining is attached to the main. Always use cups that are designed for swim (they usually have drain holes and resist flattening when wet).
Edge Finishes with Binding: Sometimes instead of turning elastic under, swimsuits use a binding (a strip of lycra) as a finish, especially on design edges like cut-outs or strappy styles. The presence of lining doesn't stop you from using decorative edge finishes – just treat the lining and main as one when applying them.
Trimming and Bar-tacking: Trim away any excess lining that extends beyond the main fabric on the wrong side after you're done. Use a few hand stitches or machine bartacks at discreet spots (like side seams or crotch seam) to secure the lining layer to the main so it stays in place when the suit is worn or washed.
Common Mistakes (and How to Avoid Them)
Choosing the Wrong Lining Fabric: Always match the stretch percentage and type of your lining to your outer fabric. If your main fabric is a 4-way stretch spandex, your lining must also be 4-way stretch (at least 50% stretch in both directions). Select a lining that closely resembles your main fabric's stretch and thickness needs. Our stretch fabric types page covers how to measure and compare stretch percentages when matching lining to main fabric.
Ignoring Color and Opacity Issues: Light colors and thin fabrics almost always need a heavy or double lining for modesty. For light-colored suits, use a nude or skin-toned lining or double up a lighter lining. Always do an opacity test: layer your lining under the main fabric and stretch both over your hand – then get it wet under a faucet. Our fabric weight guide covers the GSM thresholds at which swimwear fabrics maintain reliable opacity when stretched or wet.
Not Prepping or Securing Layers (Shifting Lining): Baste, baste, baste! It may seem time-consuming, but basting the lining to the main fabric prevents most shifting issues. If you absolutely hate basting, then use a ton of pins or clips placed perpendicular to the seam. Using a walking foot on your machine can help feed both layers evenly.
Incorrect Elastic Application: Mark quarter points on both elastic and openings and distribute the elastic evenly. Make sure you are catching both layers when that's the intent. Practice on a scrap sandwich of lining + main + elastic to get your machine settings right. Our how to sew stretch fabric guide covers elastic application techniques and stitch settings for all common swimwear construction scenarios.
Uneven or Bumpy Finish at Edges: If you notice the lining rolling out, you probably need to do (or redo) an understitch or topstitch closer to the edge to keep it in place. If the edge is fluting or waving, check if the elastic was stretched uniformly. A steam press very lightly (with a pressing cloth and low heat) can help with minor waves.
Using Pins Incorrectly: Use fine ballpoint pins or wonder clips to hold layers. Place pins in seam allowances if possible. After sewing, check for any remaining pinholes – often a wash will close them up since spandex is forgiving.
Neglecting to Adjust Fit for Lining: Lining can change the fit slightly – fully lined suits are a bit less stretchy. If your outer fabric is very stretchy and your lining is more stable, you might want to sew slightly smaller seam allowances to compensate. If using power mesh, realize it will pull the garment tighter.
Care and Washing Tips to Maintain Swimsuit Lining
Rinse Immediately After Use: Chlorine and saltwater are the enemies of spandex. Rinse the swimsuit in cool fresh water as soon as possible after each wear. Gently squeeze (don't wring) the water out after rinsing. Our spandex care guide covers the science of how chlorine and saltwater degrade elastane fibers and why prompt rinsing is so important for extending garment lifespan.
Hand Wash Gently: The best method is to hand wash your swimsuit in cool water with a small amount of mild detergent. Avoid bleach or harsh detergents – never use chlorine bleach on a swimsuit. If you must use a washing machine, put the swimsuit in a mesh lingerie bag and use the gentlest cycle with cold water. Our fabric care guide covers complete laundering protocols for all common swimwear fabric types.
Dry Flat in Shade: Do not put swimsuits in a dryer. High heat can ruin the elastic in the lining and outer fabric. Keep it out of direct sunlight while drying, as UV rays can fade colors and also degrade the fibers over time. Flip the suit inside out to let the lining side get airflow for part of the drying time. Our spandex care guide covers how UV degradation affects elastane integrity even during the drying process.
Avoid Rough Surfaces: Be mindful that the inside lining can snag on rough surfaces just as the outside can. The lightweight lining mesh in particular can snag easily. Beware of Velcro on beach covers or bags.
Rotate Swimsuits: Give your suit 24 hours to bounce back between uses. Spandex fibers need a bit of time to return to shape, and the lining will last longer if it's not constantly wet or under strain.
Storage: Make sure your suit is completely dry before storing to prevent mildew. Don't store a wet suit in a sealed bag for a long time, and don't leave a crumpled wet swimsuit wrapped in a towel all day.
Summary: Swimsuit Lining Checklist
✅ Pick the Right Lining Fabric: Choose a swimsuit lining (tricot, power mesh, etc.) that has similar 4-way stretch as your main fabric. Ensure it's chlorine-resistant and in a color that won't show through.
✅ Pre-Wash and Test: Pre-wash or at least rinse your lining and main fabric. Test stretch and opacity by layering them wet.
✅ Align Stretch & Grain: Cut lining with the same grain direction as the main fabric. Our stretch fabric types page covers how to verify true 4-way stretch and compare stretch percentages.
✅ Full vs. Partial Lining Plan: Decide if you will fully line the suit or just certain parts. Plan any power mesh panels or extra support layers before construction.
✅ Cutting Technique: Use a rotary cutter if possible. Keep lining pieces labeled. Consider cutting lining pieces slightly smaller by a few millimeters if you want a snugger lining.
✅ Baste Layers Together: Baste or serge lining to each main piece wrong sides together around edges. This prevents shifting when sewing seams and elastic.
✅ Smooth, Even Assembly: Sew seams with lining and main aligned. Stretch gently as you sew to avoid any lining tucks. Our how to sew stretch fabric guide covers all construction techniques for lined swimwear.
✅ Elastic Application: Cut the correct length of swim elastic for each opening. Quarter-mark the elastic and opening. Sew elastic on with a zigzag, stretching evenly. Then turn and topstitch for a durable, professional finish.
✅ Topstitch/Understitch Edges: Topstitch around edges with a stretch stitch to keep the lining rolled inward and to secure elastic. Understitch on the lining side where possible.
✅ Optional Support Features: Add bra cups or a power mesh shelf bra with underbust elastic for larger busts if needed.
✅ Final Inspection: Turn the suit right side out and check all lining areas. Trim any lining that extends beyond the main fabric. Make sure no lining is sneaking out at edges.
✅ Care for Longevity: Rinse the swimsuit after each use. Hand wash with mild soap and air dry flat. Our spandex care guide and fabric care guide cover complete care protocols for lined swimwear.
By following this guide and checklist, you'll line your swimsuit like a pro. Ready to find the perfect lining fabric for your project? Explore our swimwear fabric guide for curated fabric recommendations, use our fabric weight guide to compare lining options by GSM, and visit our how to sew stretch fabric guide for complete construction guidance. Have questions about specific fabrics or sourcing? Our expert help and advice page and FAQ are always available. Sign up for SpandexByYard Rewards to earn points on every purchase – because the perfect lining is what takes a handmade swimsuit from good to professional.